Ever thought about shielding your tech from electromagnetic interference? Building a Faraday cage out of garbage cans could be the answer! Imagine protecting your valuable gadgets while also embracing a sustainable lifestyle.
This DIY project is not just cost-effective, but it’s also a fantastic way to delve into prepping and homesteading. Whether you’re getting ready for an unexpected outage or just want to keep your electronics safe, creating a Faraday cage can be a fun challenge. Let’s jump into this hands-on journey that will enhance your tech security and give you a sense of accomplishment!
Contents
- Step 1: Gather Your Materials
- Step 2: Prepare the Cans
- Step 3: Assemble the Cage
- Step 4: Grounding (Optional, But Important!)
- Step 5: Test Your Cage
- Step 6: Store Your Valuable Electronics
- Step 7: Maintain and Upgrade Your Cage
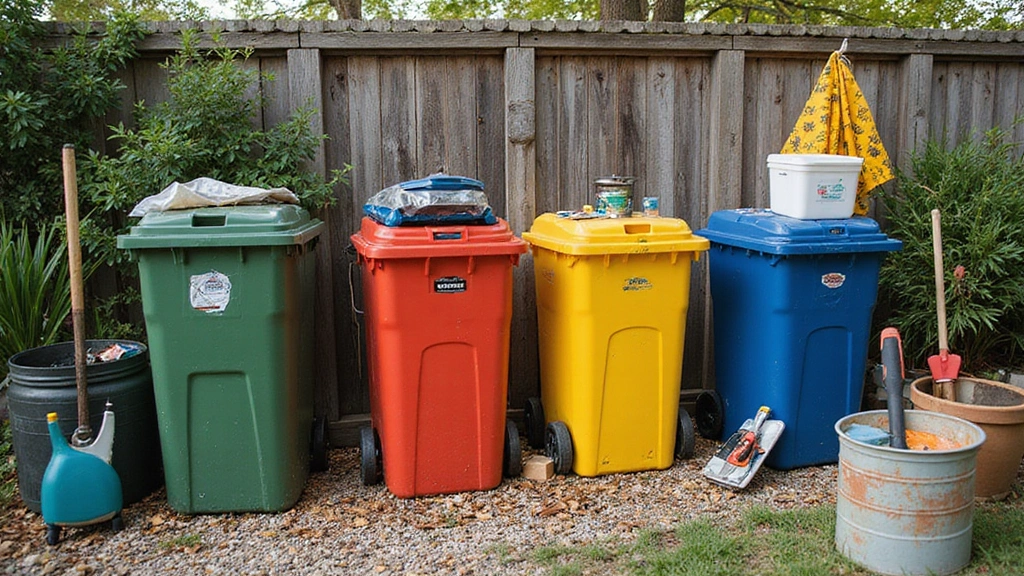
Step 1: Gather Your Materials
The first step in creating your Faraday cage is all about gathering the right materials. For this project, you will need at least two metal garbage cans with lids, such as the Behrens galvanized steel trash can, which is durable and designed to keep your tech secure.
In addition, you’ll need some conductive materials, like Reynolds Wrap everyday strength aluminum foil or a copper mesh roll, both of which are excellent options for ensuring that your cage effectively blocks electromagnetic signals.
You might also want to have some duct tape, scissors, and possibly a grounding rod if you plan on grounding your cage. Look around your home or local recycling center—these items should be easy to source without breaking the bank. You can also ask your neighbors; they might have some old cans lying around!
Here’s a quick checklist of what you’ll need:
– Two metal garbage cans (preferably with tight-fitting lids)
– Aluminum foil or copper mesh
– Duct tape
– Scissors
– Grounding rod (optional)
As you gather these materials, think about where you’ll place your Faraday cage. A cool, dry area is ideal to keep it protected from moisture and rust!
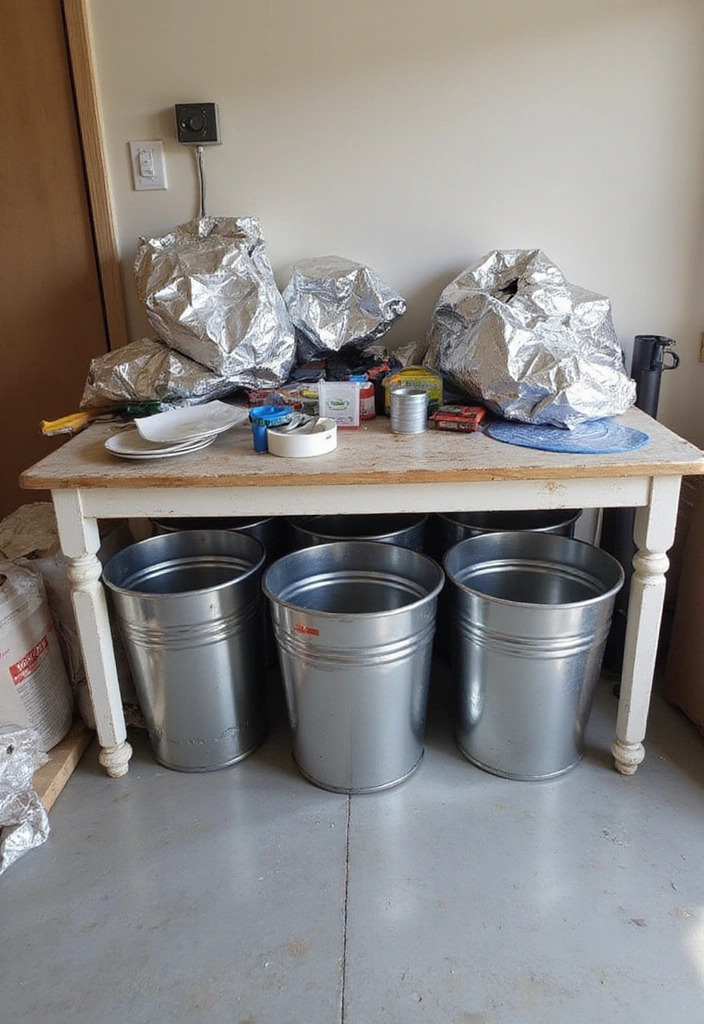
Step 2: Prepare the Cans

Now that you have your materials, it’s time to prep the garbage cans. Start by cleaning them thoroughly to remove any dirt or grime that might affect the conductivity. A good option for this is using Reynolds Wrap Everyday Strength Aluminum Foil to help clear out any stubborn spots, as it’s effective and versatile for various cleaning tasks.
Once clean, inspect the cans for any holes or dents. The integrity of your Faraday cage relies on the cans being as airtight as possible. If you find any imperfections, repair them with the Original Duck Brand Duct Tape. This durable tape is perfect for sealing up any gaps, ensuring that electromagnetic waves can’t sneak in.
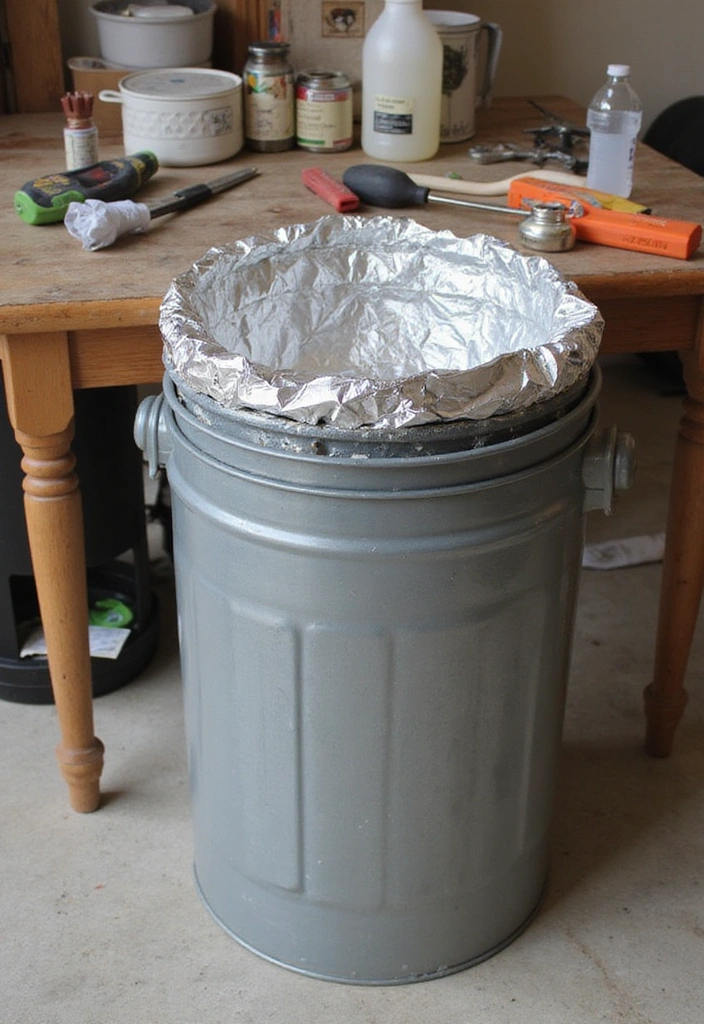
After preparation, line the inside of one can with either aluminum foil or copper mesh. Make sure the conductive material covers every inch of the interior—you want a complete barrier against electromagnetic waves. This lining will be crucial in ensuring your tech stays safe!
Neatly cut the foil or mesh, and use duct tape to secure it in place. Pay attention to the seams—the less gaps, the better your cage will perform. With these materials, you can build a reliable Faraday cage that protects your devices effectively!
Step 3: Assemble the Cage
This is where the magic happens! Start by taking the can you prepared in the last step and placing it inside the second, unlined can. This double-layer approach is what creates your Faraday cage.
Make sure that the lids of both cans fit snugly. If they don’t, you might need to add some additional aluminum foil around the edges to ensure a tight seal. Having a good seal is essential, as it keeps external electromagnetic fields from penetrating your cage.
Feel free to add a layer of insulating material (like cardboard sheets or foam padding) between the two cans for an extra layer of protection. This will help absorb shocks and further secure your electronics, especially if you’re transporting the cage.
Once everything is nested and snug, put both lids on securely. Your cage is almost ready to go!
Step 4: Grounding (Optional, But Important!)
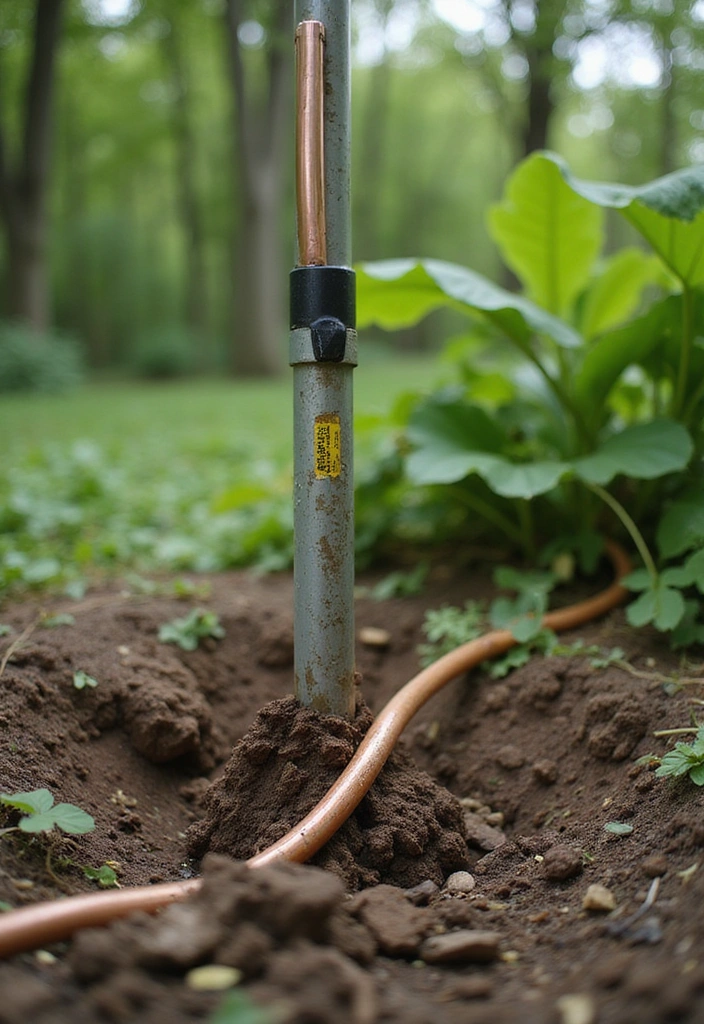
While not mandatory, grounding your Faraday cage can add an extra layer of security. If you’re in an area prone to lightning or electromagnetic disruptions, consider using a grounding rod like the GOUNENGNAIL 4′ Grounding Rod. This product is great for a variety of grounding needs, providing a reliable way to dissipate any excess electromagnetic energy that your cage might attract.
To ground your cage, you’ll need to attach a copper wire from the cage to the grounding rod buried in the earth. A good option for this is the Southwire 50-ft 8-Gauge Solid Soft Drawn Copper Bare Wire, which is ideal for creating a solid connection. This simple setup can significantly enhance the safety and efficiency of your Faraday cage.
If you’re unsure how to set a grounding rod, don’t hesitate to consult online resources or a local expert. It’s a straightforward process, and keeping safety in mind is crucial—especially when you’re dealing with electronics!
If you choose not to ground your cage, don’t stress. It will still provide significant protection—think of grounding as a bonus feature!
Step 5: Test Your Cage
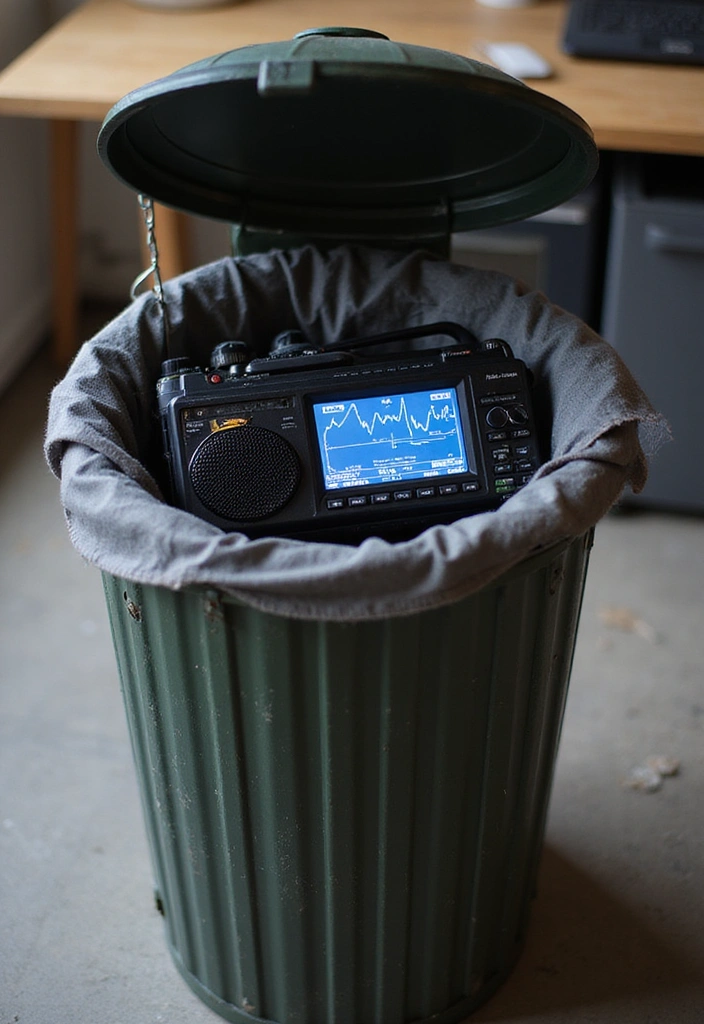
Before stuffing your tech inside, you’ll want to test your cage to ensure it’s functioning properly. A simple way to do this is by using a battery-operated radio like the Panasonic Portable AM / FM Radio.
Place the radio inside the cage and close the lid. If you can’t pick up any signals, congratulations! Your Faraday cage is working as intended. If the radio still receives signals, check for gaps in your sealing or ensure that the conductive lining is intact. For any repairs, you might consider using LOVIMAG Copper Foil Tape to seal those gaps effectively.
Testing is crucial—it gives you peace of mind knowing your devices will be safe from interference. Plus, it’s fun! This step adds to the excitement of your DIY journey. Feel free to take notes during this process. If you spot issues, you can make improvements before using the cage for your valuable electronics.
Step 6: Store Your Valuable Electronics
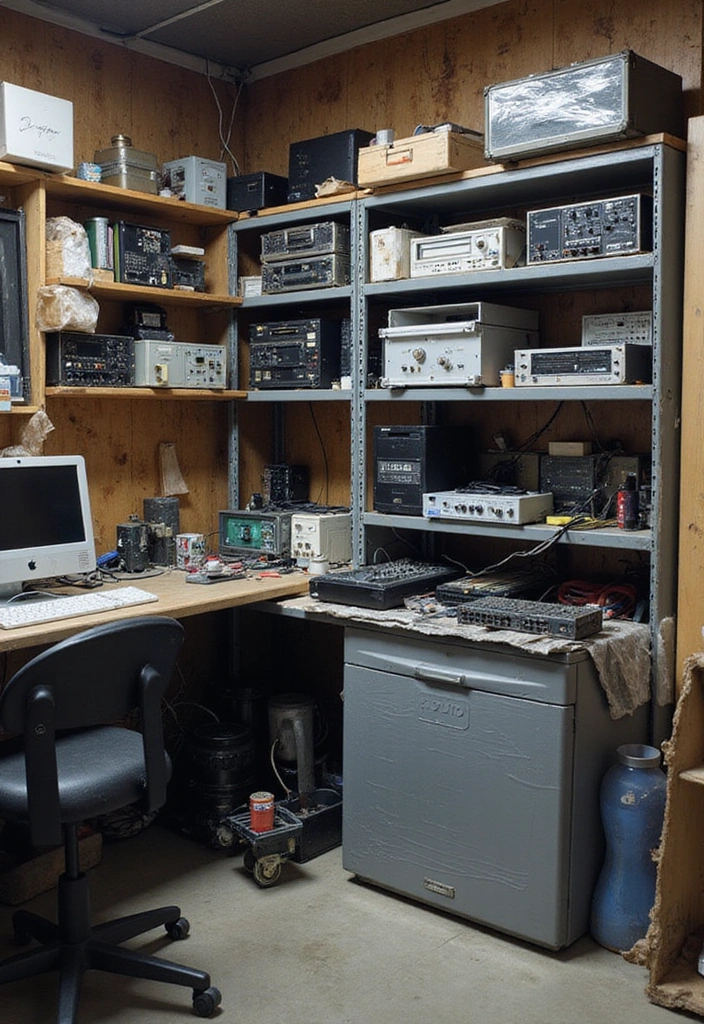
Now that you’re all set, it’s time to store your valuable electronics! Carefully place your devices inside the Faraday cage, ensuring they are cushioned to prevent any damage during storage.
To protect your devices, consider wrapping them in bubble wrap roll before placing them inside. This adds extra protection from electromagnetic waves as well as from physical bumps and falls.
You can store anything from smartphones and laptops to essential batteries and radios. Think of your Faraday cage as a protective vault for your tech. To keep things organized, you might find small storage bins helpful. These collapsible crates can help you separate and secure your devices, ensuring everything stays safe and easily accessible.
Additionally, remember to keep your electronics clean. Using microfiber cleaning cloths can help maintain their condition. Regular check-ins on your stored devices will ensure they remain in good shape and ready for any emergencies or outages.
Step 7: Maintain and Upgrade Your Cage
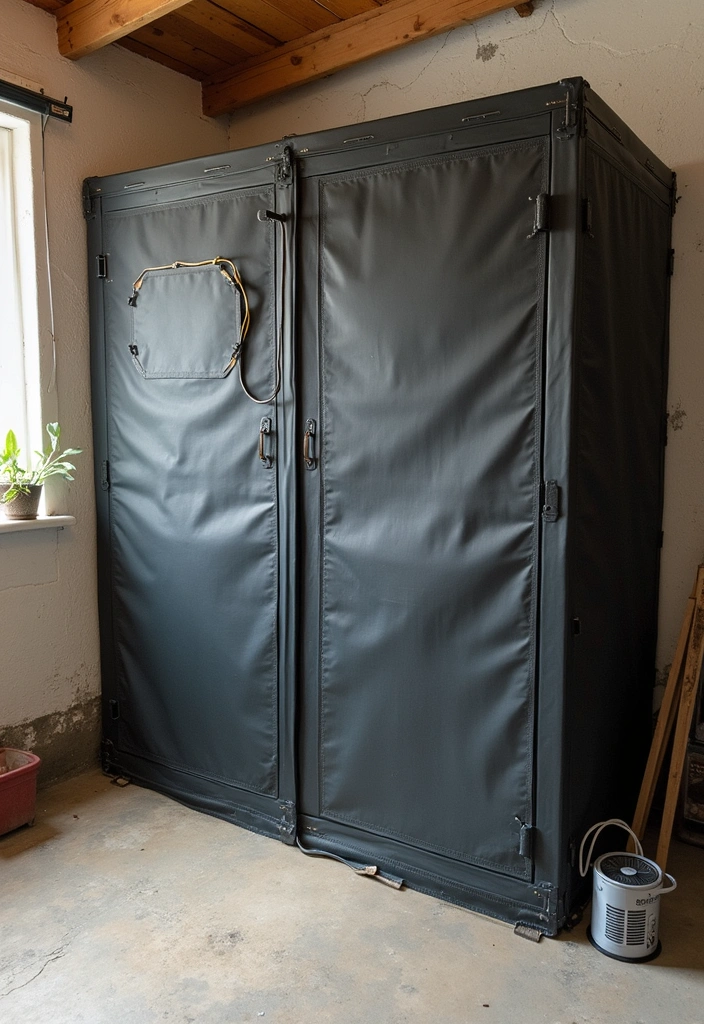
The final step is all about maintenance and potential upgrades! Just like any other DIY project, your Faraday cage will need a little TLC to keep it performing at its best.
Regularly check for rust or damage to the cans and replace any worn conductive materials as necessary. Make sure seals are still tight and effective. If you notice any gaps or wear, reinforce them with more duct tape or additional layers of aluminum foil. These materials are essential for maintaining the integrity of your cage and ensuring that it continues to block unwanted signals.
Consider adding features over time: maybe a solar-powered fan for airflow or a built-in light to help see what’s inside. A solar-powered fan is particularly useful, as it can help regulate temperature and keep your tech secure without needing external power sources. You can even create a more elaborate setup with multiple layers of protection—think about what would work best for your needs.
By maintaining your Faraday cage, you’ll ensure ultimate tech security for years to come. It’s a rewarding endeavor that truly reflects the homesteading spirit: sustainable, resourceful, and practical!
Conclusion

You’ve made it through all the steps to create your very own Faraday cage from garbage cans! Now you’re equipped to protect your electronics from unwanted interference.
Remember, each step was a chance to embrace creativity and practicality. Whether you’re prepping for emergencies or just looking to safeguard your gadgets, this DIY project proves that you don’t need expensive materials to achieve great results. Get started today, and enjoy your newfound tech security!
Note: We aim to provide accurate product links, but some may occasionally expire or become unavailable. If this happens, please search directly on Amazon for the product or a suitable alternative.
This post contains Amazon affiliate links, meaning I may earn a small commission if you purchase through my links, at no extra cost to you.