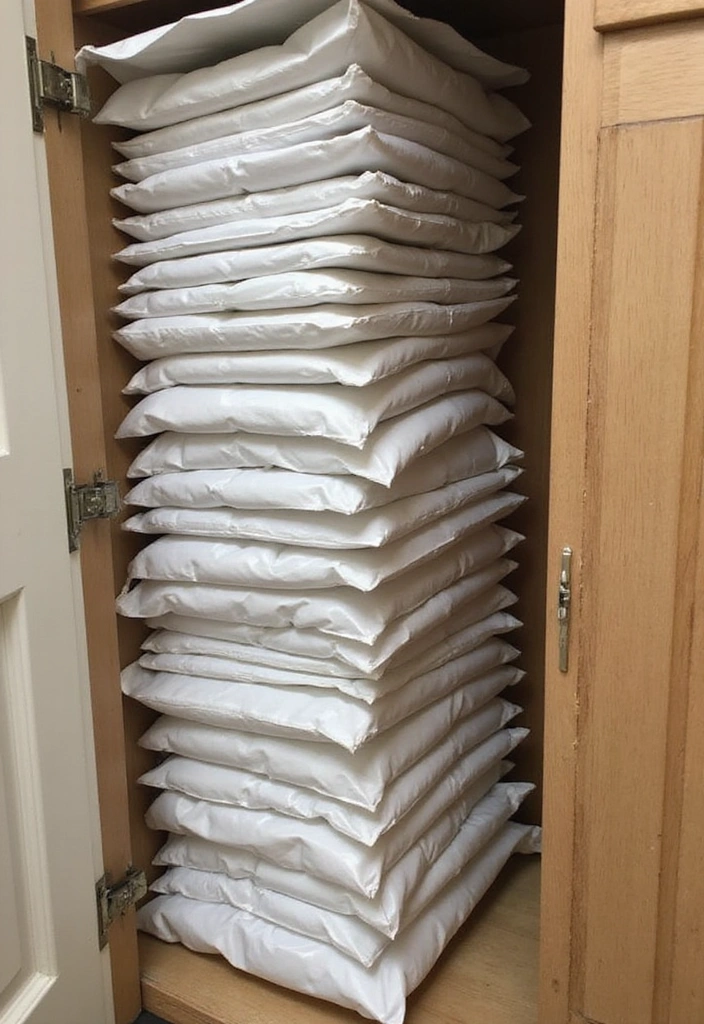
A cluttered pantry can feel like a recipe for disaster, especially when you’re trying to stock up for the long haul. Mylar bags are your secret weapon for keeping food fresh and organized, whether you’re planning for that unexpected barbecue or stocking up for the winter. They’re versatile, space-saving, and can extend the life of your food for years!
From grains to snacks, this list has got you covered with clever organization tips that will transform your pantry into a model of efficiency. Buckle up, because you’re about to discover some jaw-dropping ways to make your food storage dreams come true!
Contents
- 1. Use Mylar Bags for Rice and Grains
- 2. Create Snack Packs for Easy Access
- 3. Store Dehydrated Foods
- 4. Efficiently Organize Baking Supplies
- 5. Categorize by Meal Types
- 6. Store Emergency Supplies
- 7. Save Space with Vertical Storage
- 8. Use Mylar Bags for Long-Term Seeds
- 9. Make a Dry Mix Station
- 10. Go Wild with Leftover Packaging
- 11. Label Everything
- 12. Create a Reusable Inventory System (You Won’t Believe This!)
- 13. Use Air-Tight Containers for Mylar Bags
- 14. Use Seasonal Storage
- 15. Organize Sauces & Spices
- 16. Make Your Own Instant Meals
- 17. Use Mylar Bags for Pet Food
- 18. Enjoy the Benefits!
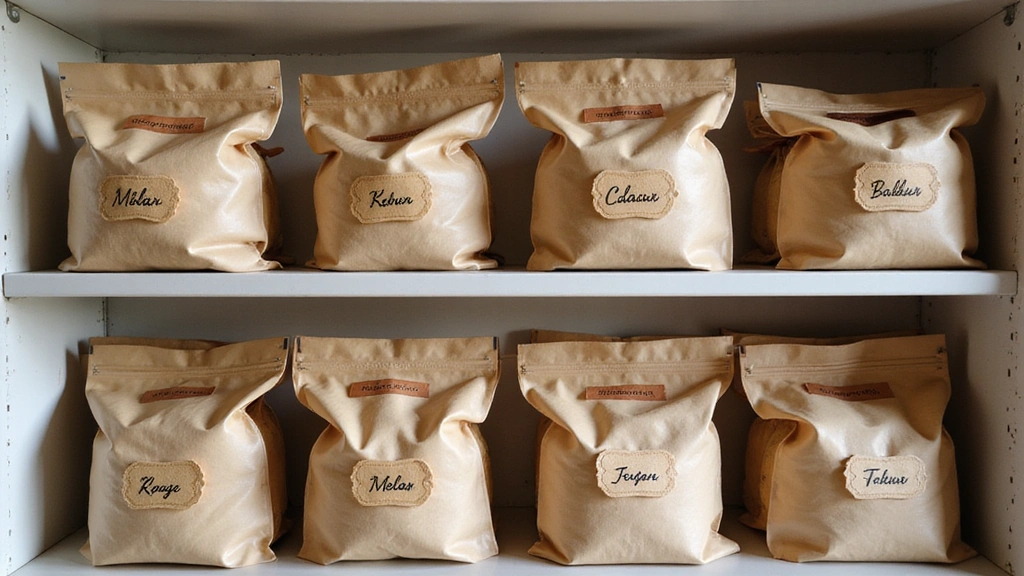
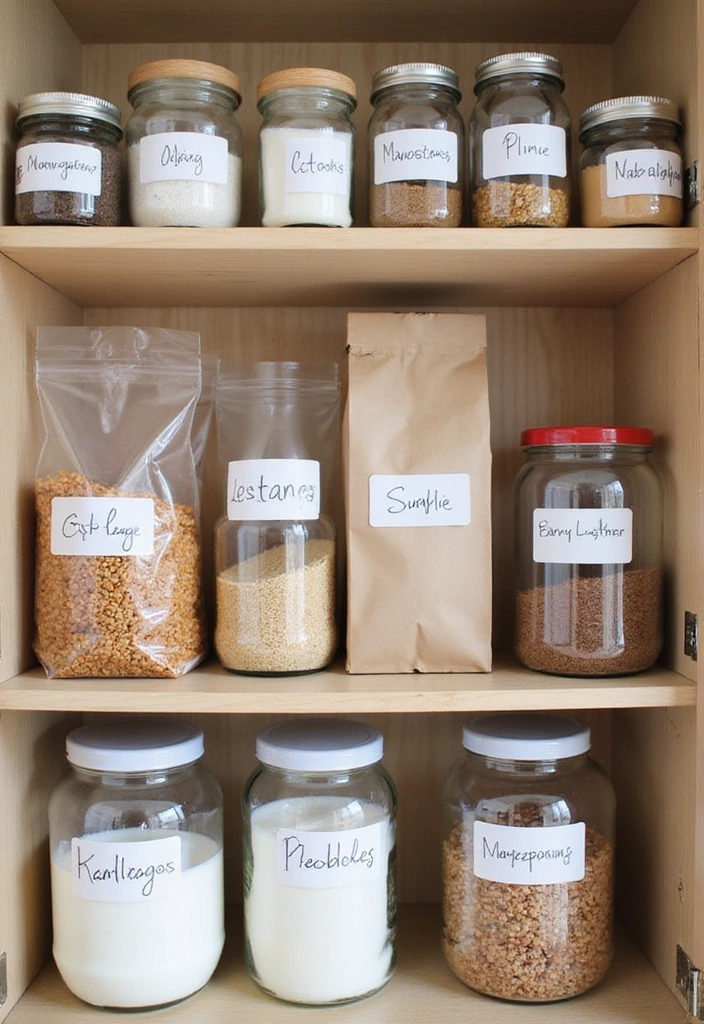
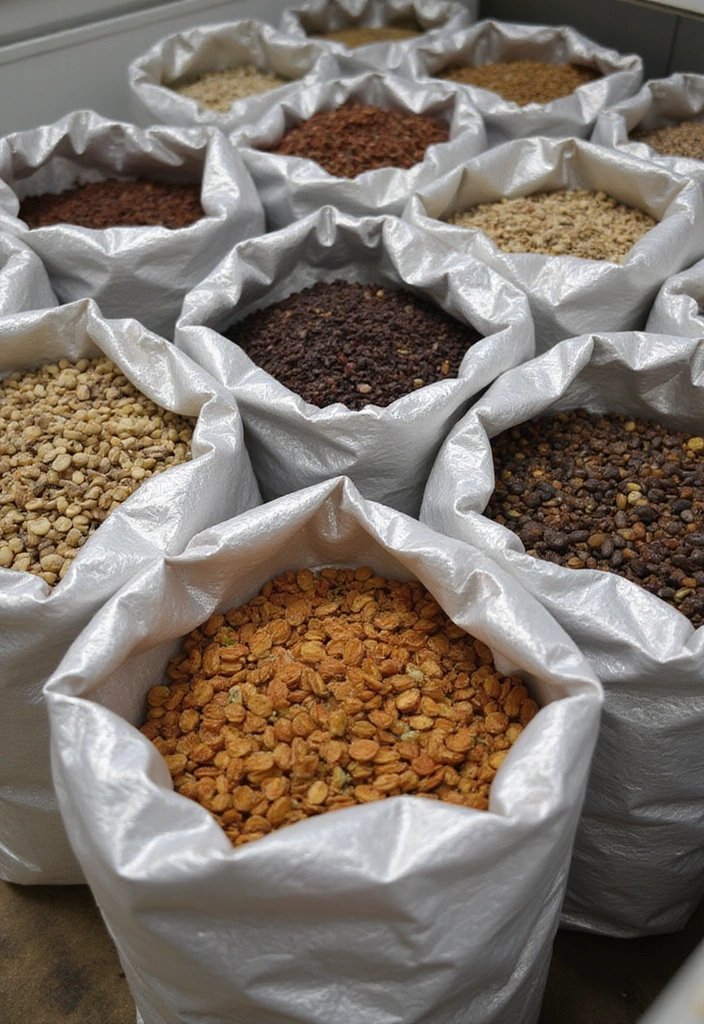
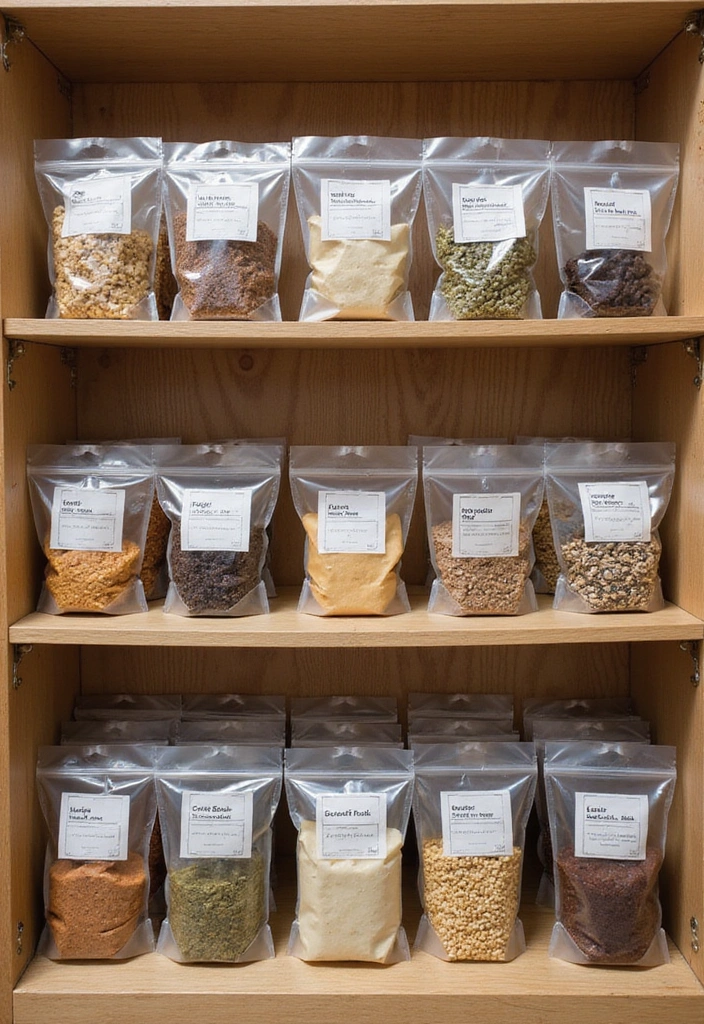
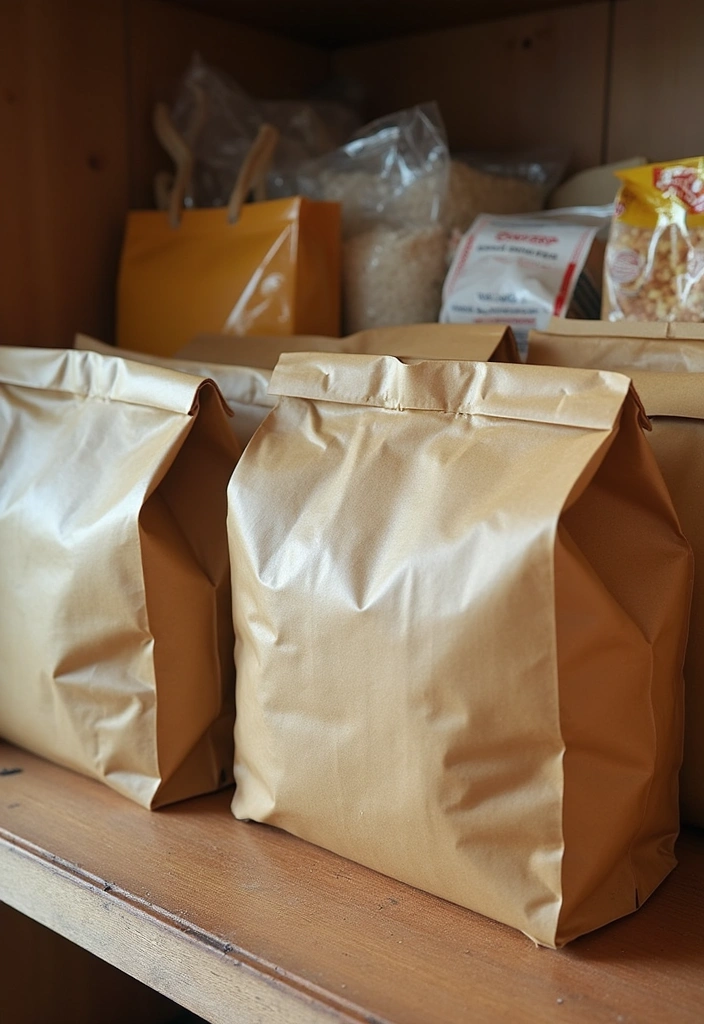
1. Use Mylar Bags for Rice and Grains
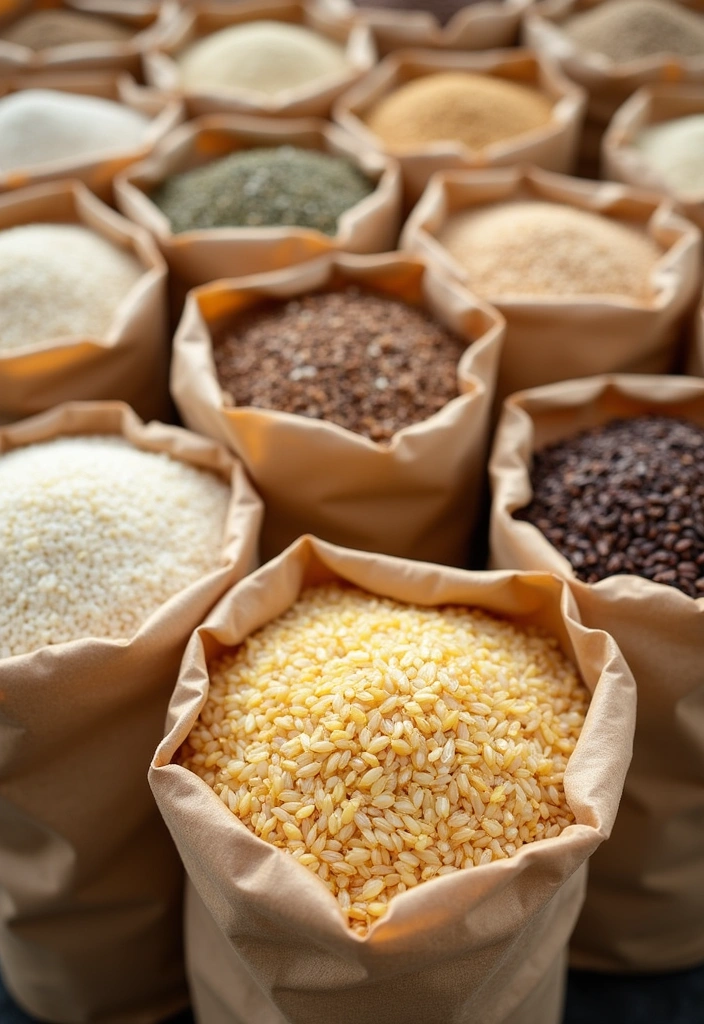
Rice and grains are staples in every household, but they can be a hassle to store. Mylar bags are perfect for keeping these items safe from pests and moisture, ensuring they last for years. After sealing your grains, just label the bags with the type and date to keep track of your inventory.
To enhance your food preservation efforts, consider using a Mylar bags for food storage. This pack includes 100 bags with a thickness of 11.8 mil, ideal for long-term storage. Additionally, don’t forget to include an oxygen absorber for longer shelf life, as these absorbers are designed to work seamlessly with Mylar bags, mason jars, and vacuum bags.
For those seeking extra freshness, a vacuum sealer can be invaluable. This compact and multi-functional machine allows you to remove air from your bags, further protecting your grains from spoilage. Mylar bags also block out light that can degrade food quality, so store them flat to maximize space and maintain organization.
– Tip: Keep a small inventory list in your pantry to know what you have on hand.
– Mylar is available in various sizes; choose what suits your needs best.
2. Create Snack Packs for Easy Access
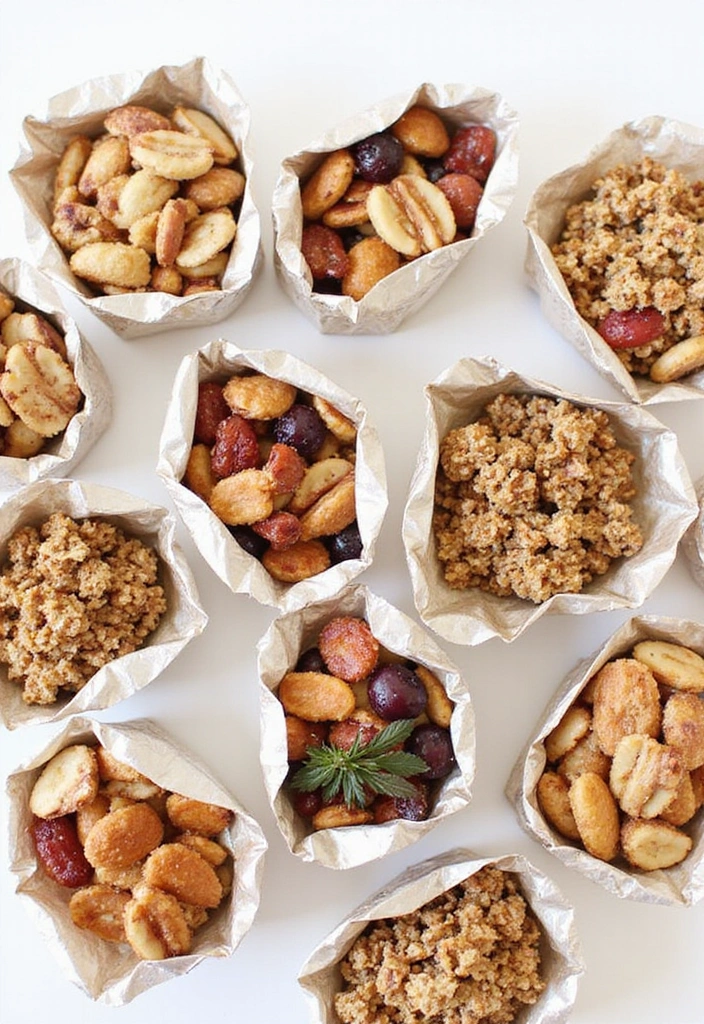
**2. Create Snack Packs for Easy Access**
Who doesn’t love a good snack? By using Mylar bags to create individual snack packs, you can keep your pantry tidy while also having treats ready for those late-night cravings or lunchboxes. Portion out nuts, dried fruits, or granola into smaller Mylar bags, such as these Mylar bags for food storage, which are designed for long-term preservation.
– Tip: Kids will love having their ‘snack bags’ ready to go!
– Storing snacks in smaller portions keeps them fresh longer, thanks to the airtight seal these Mylar bags provide.
– It also helps control portions, making it easier to stay on track with your healthy eating goals.
**Recipe Overview:**
– Servings: Varies
– Prep Time: 15 minutes
– Total Time: 15 minutes
– Calories: Varies depending on contents
**Ingredients:**
– Nuts, dried fruit, granola, or any favorite snacks
– Mylar bags
**Step-by-Step Instructions:**
1. Choose your snacks and gather Mylar bags.
2. Portion out your snacks into the bags.
3. Seal each bag tightly with a heat sealer, like the heat sealer for Mylar bags, which ensures that your snacks remain fresh and free from air exposure.
4. Label each bag with the contents and date packed.
– Tips: Keep a variety on hand so you never get bored!
– You can also create themed snack packs for road trips or movie nights using fun snack portion control containers, which offer convenient compartments for different snacks while on the go.
3. Store Dehydrated Foods
Dehydrating foods is a fantastic way to preserve their nutrients and flavors, and Mylar bags make for the perfect storage solution. Whether you’ve dehydrated fruits, vegetables, or herbs, Mylar bags not only keep moisture out but also help retain that fresh taste. For optimal preservation, consider using oxygen absorbers. These are specifically designed to prolong the shelf life of your dehydrated goods by removing oxygen that can lead to spoilage.
To maintain the quality of your stored items, store your dehydrated goods in a cool, dark place. Don’t forget to label clearly; using a label maker can make this process a breeze, helping you keep track of different foods and packing dates.
### Recipe Overview:
– **Servings:** Varies
– **Prep Time:** Time for dehydration
– **Total Time:** Varies
– **Calories:** Varies depending on contents
### Ingredients:
– Fruits, vegetables, or herbs of choice
### Step-by-Step Instructions:
1. Dehydrate your chosen foods.
2. Let them cool completely before packing.
3. Place the cooled dehydrated foods into Mylar bags.
4. Add an oxygen absorber for maximum preservation.
5. Seal the bags tightly and label with contents and packing dates using your label maker.
– **Tips:** Consider creating a mix of dehydrated fruits for smoothies or snacks!
– Be creative with your herb storage; you can even try mixing herbs for unique blends.
4. Efficiently Organize Baking Supplies
Baking supplies can create a messy pantry if not stored properly. Ditch the bulky packages and transfer flour, sugar, and other dry ingredients into Mylar bags. This keeps everything fresh and makes it easy to grab what you need during your baking marathons.
– Tip: Use clear bags to quickly see what’s inside.
– Consider color coding bags for different types of flour or sugars.
– Label each bag with the type of ingredient and the date you opened it.
Recipe Overview:
– Servings: N/A
– Prep Time: 10 minutes
– Total Time: 10 minutes
– Calories: N/A
Ingredients:
– All-purpose flour, cake flour, powdered sugar, sugar, or any baking ingredients
– Mylar bags
Step-by-Step Instructions:
1. Gather all your baking supplies.
2. Pour each ingredient into a Mylar bag, leaving some space at the top.
3. Seal the bags tightly with a heat sealer.
4. Label each bag clearly with the ingredient and the date.
– Tips: Store bags upright in a bin or basket for easy access.
– Keep a list of your baking supplies on hand to avoid running out unexpectedly.
5. Categorize by Meal Types
Organizing your pantry by meal types can streamline your cooking process. Use Mylar bags for food storage to group ingredients for specific meals, such as taco night or pasta dishes. This makes meal prep quicker and more enjoyable.
– Tip: You can create meal kits in advance to make weeknight dinners a breeze.
– Label each bag with the meal type and the date you created it using a label maker to ensure everything is easily identifiable.
– Store bags together in storage bins for organizing to provide easy access.
Recipe Overview:
– Servings: Varies
– Prep Time: 20 minutes
– Total Time: 20 minutes
– Calories: Varies
Ingredients:
– Any meal ingredients, such as beans, pasta, rice, and spices
– Mylar bags
Step-by-Step Instructions:
1. Choose your favorite meals to prep.
2. Gather all necessary ingredients for each meal.
3. Place ingredients into Mylar bags, labeling them per meal.
4. Seal securely and store in a designated bin for easy access during meal prep.
– Tips: Rotate meal ideas weekly to keep things fresh and interesting.
– Consider using a meal planner to decide what to cook for the week ahead.
6. Store Emergency Supplies
When it comes to emergencies, having supplies on hand is essential. Mylar bags are fantastic for storing items like dried beans, pasta, and other essentials that can last for years. By keeping these items safely stored, you can be prepared for anything.
To enhance your emergency preparedness, consider creating an emergency kit that includes essential supplies like water purification tablets and first-aid items. A great addition to your kit is a comprehensive emergency first aid kit, which contains a wide array of medical supplies for various situations.
Make sure to label everything clearly and store your supplies in a designated area for easy access. It’s also a good idea to rotate your supplies every six months to ensure nothing expires.
### Recipe Overview:
– Servings: N/A
– Prep Time: 15 minutes
– Total Time: 15 minutes
– Calories: Varies
### Ingredients:
– Dried beans, pasta, grains, and emergency supplies
– Mylar bags
– Oxygen absorbers
### Step-by-Step Instructions:
1. Gather emergency supplies and food items for long-term storage.
2. Place each food item into Mylar bags. For a reliable option, consider mylar bags for food storage.
3. Add oxygen absorbers to ensure maximum freshness. Using products like oxygen absorbers can help extend the shelf life of your stored goods significantly.
4. Seal tightly, label, and store in a cool, dark place.
### Tips:
– Create an inventory list to know what you have and what needs replacing.
– Store in a dry area to prevent moisture issues.
By following these steps and utilizing the suggested products, you’ll be well-prepared for any emergency situation.
7. Save Space with Vertical Storage
If space is tight, think vertically! Use tall Mylar bags like the Mylar bags for food storage to take advantage of vertical storage. These bags can be squeezed into narrow spaces between shelves, allowing you to maximize every inch of your pantry.
– Tip: Stack bags vertically and label the top for easy visibility. A handy tool for this is the Label Maker, which makes it simple to create clear and organized labels for your Mylar bags.
– Use small baskets, such as the stackable storage baskets, to keep similar items together and easily accessible.
– Clear Mylar bags can help you see what’s inside without having to dig through them.
Recipe Overview:
– Servings: N/A
– Prep Time: 10 minutes
– Total Time: 10 minutes
– Calories: N/A
Ingredients:
– Any food items that can be stored in Mylar bags
– Mylar bags
Step-by-Step Instructions:
1. Identify small spaces in your pantry.
2. Fill Mylar bags with food items, ensuring to leave room at the top.
3. Seal and label clearly with your Label Maker.
4. Store them vertically or in a basket that fits the space, like the stackable storage baskets.
– Tips: Keep a list of items you’ve stored to avoid overlooking any ingredients.
– Create a designated vertical storage zone to keep things organized.
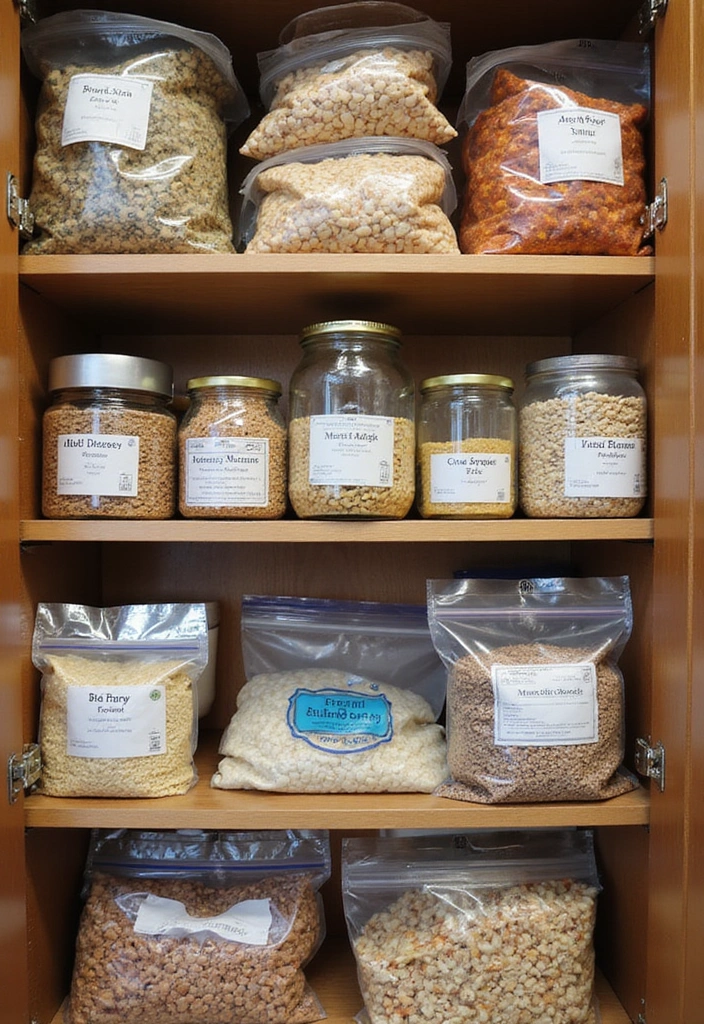
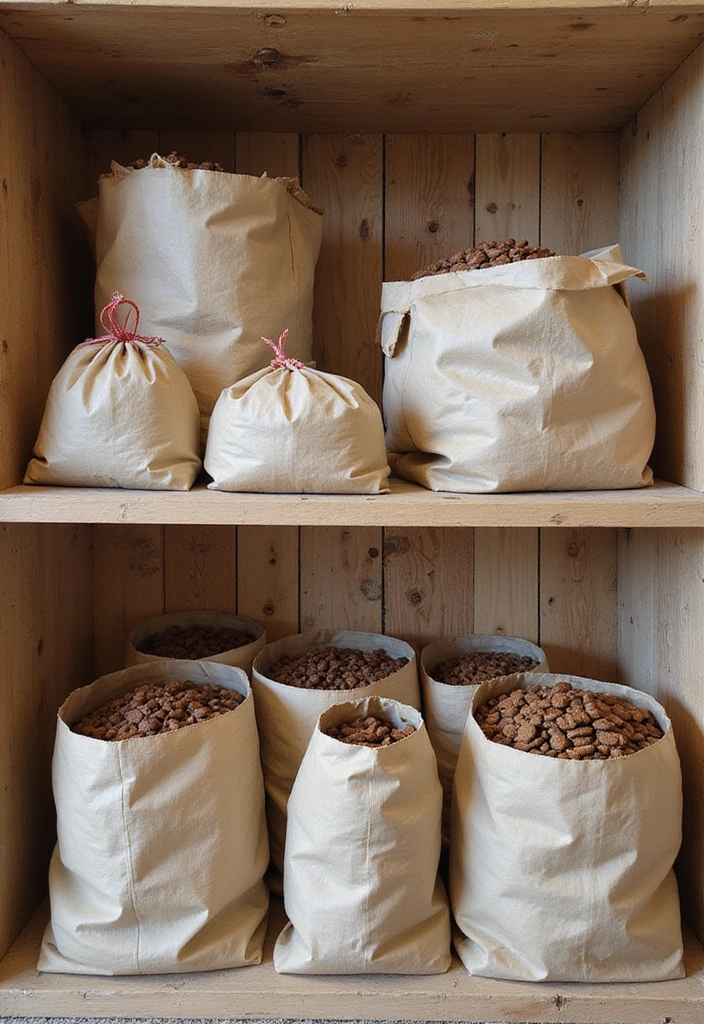
8. Use Mylar Bags for Long-Term Seeds
### 8. Use Mylar Bags for Long-Term Seeds
If you’re into gardening, storing seeds properly is crucial for future planting seasons. Mylar bags provide an airtight environment that protects seeds from moisture and heat, prolonging their viability. One great option for this is the Mylar bags for food storage, which come in various sizes and thicknesses, ensuring that your seeds stay safe and well-preserved.
– **Tip:** Keep your seed packets organized by type and date planted.
– Use desiccant packets inside the Mylar bags to absorb any moisture. These moisture-absorbing silica gel packs are essential for maintaining the ideal conditions for seed storage.
– Label each bag clearly with the seed type and the date. Using labeling tape or stickers can help you keep everything organized, making it easier to find the right seeds when planting season arrives.
#### Recipe Overview:
– Servings: N/A
– Prep Time: 5 minutes
– Total Time: 5 minutes
– Calories: N/A
#### Ingredients:
– Variety of seeds
– Mylar bags
– Desiccant packets
#### Step-by-Step Instructions:
1. Gather your seeds and Mylar bags.
2. Place seeds inside the bags, adding desiccants if needed.
3. Seal the bags tightly.
4. Label clearly with seed type and date packed.
– **Tips:** Store seeds in a cool, dark place to keep them viable longer.
– Keep an inventory of your seeds to know what to plant each season.
9. Make a Dry Mix Station
Creating a dry mix station can make cooking so much easier. Use Mylar bags for food storage to store mixes for pancakes, waffles, or even cookie dough. This way, you can quickly whip up a delicious breakfast or dessert without the hassle of measuring ingredients every time.
– Tip: Make your mixes as gifts; they’re perfect for friends who love to bake!
– Label bags with cooking instructions for convenience using a label maker.
– Consider creating family favorites to make cooking a breeze.
Recipe Overview:
– Servings: Varies
– Prep Time: 10 minutes
– Total Time: 10 minutes
– Calories: Varies
Ingredients:
– Flour, sugar, baking powder, and other dry ingredients
– Mylar bags
Step-by-Step Instructions:
1. Gather all dry ingredients for your mixes.
2. Measure ingredients into Mylar bags using measuring cups and spoons set.
3. Seal tightly and label with the mix name and instructions using your label maker.
4. Store in a designated area for easy access.
– Tips: Create themed mixes, like holiday cookie mixes or breakfast mixes, for fun variety.
– Make a family recipe book and store it with your mixes for reference.
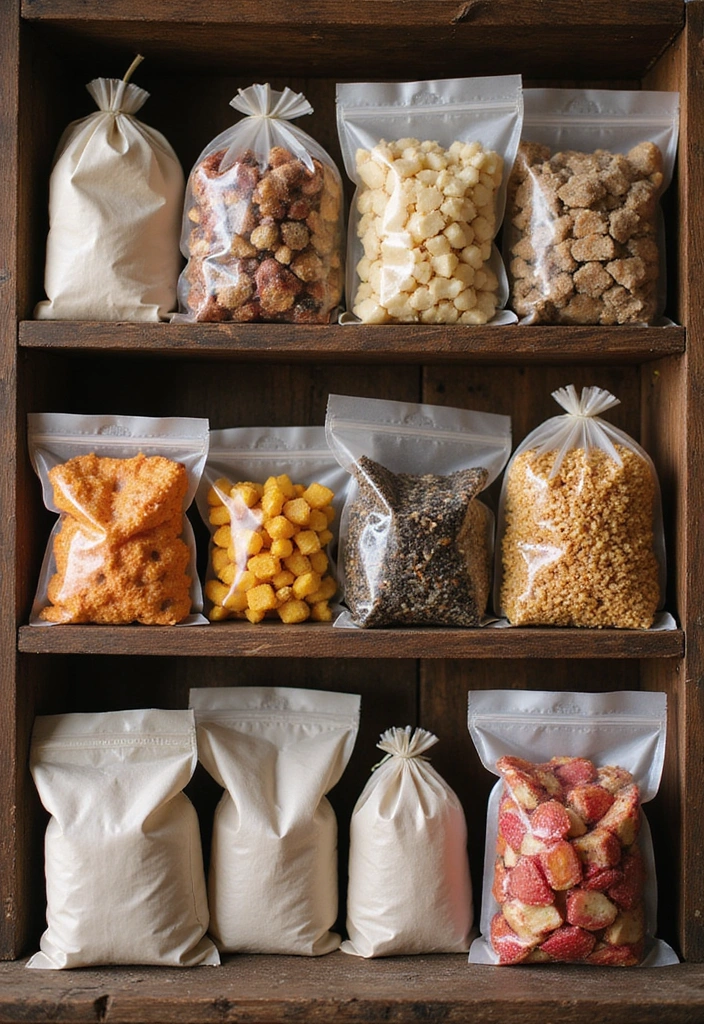
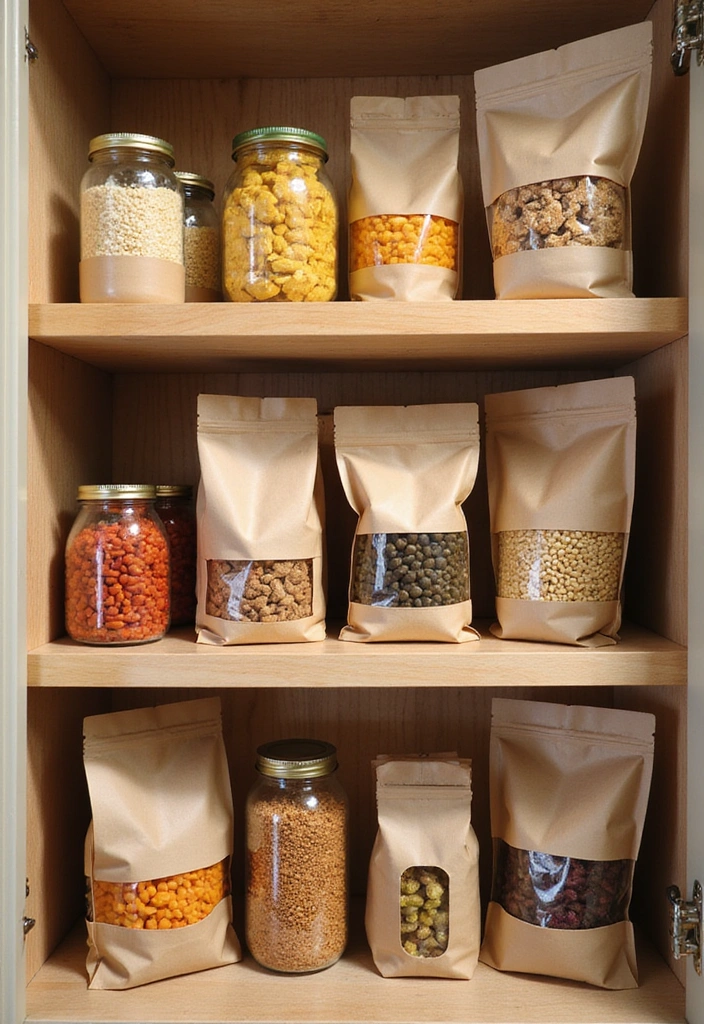
10. Go Wild with Leftover Packaging
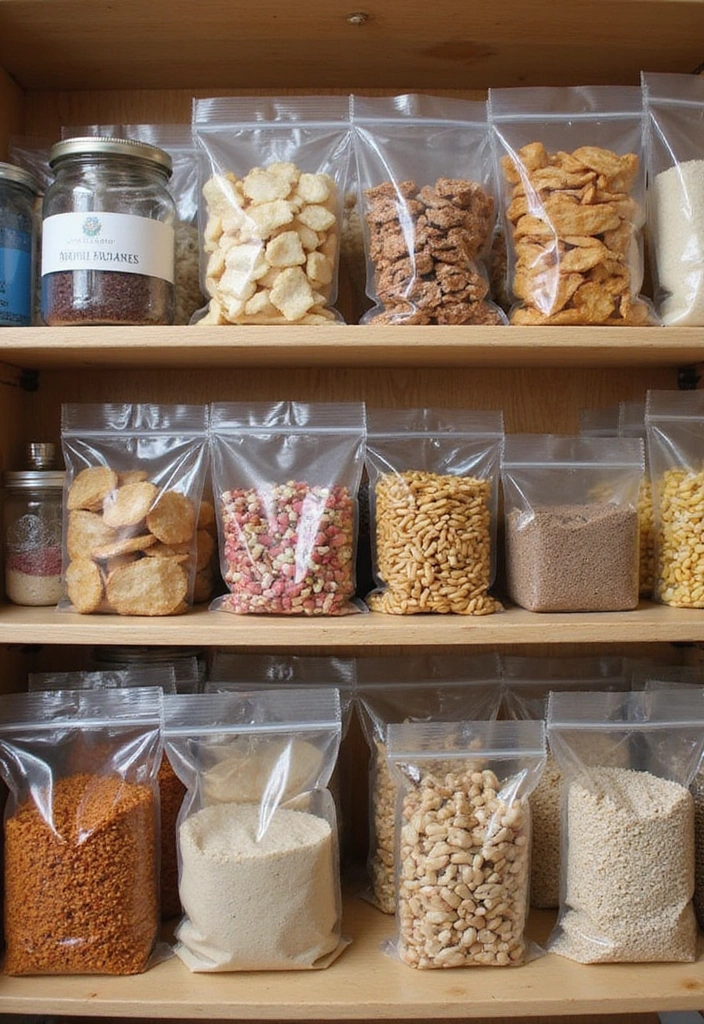
You’d be surprised at how much you can store in Mylar bags, including leftovers! Instead of tossing half-used packages of snacks or ingredients, repack them in Mylar bags for food storage to keep them fresh. These durable bags create an airtight seal, significantly extending the shelf life of your food.
– Tip: Make sure to label bags with the contents and date opened using a label maker that prints clear and concise labels.
– Keep a ‘leftover’ shelf in your pantry for quick access.
– This practice also helps reduce waste and maximize food use.
Recipe Overview:
– Servings: Varies
– Prep Time: 5 minutes
– Total Time: 5 minutes
– Calories: Varies
Ingredients:
– Snacks, chips, grains, or anything half-used
– Mylar bags
Step-by-Step Instructions:
1. Gather leftover packaging and Mylar bags.
2. Pour contents into Mylar bags, ensuring bags are not overfilled.
3. Seal bags and label with contents and date opened.
4. Store in the pantry for easy access.
– Tips: This practice not only makes your pantry tidier but also reduces food waste significantly.
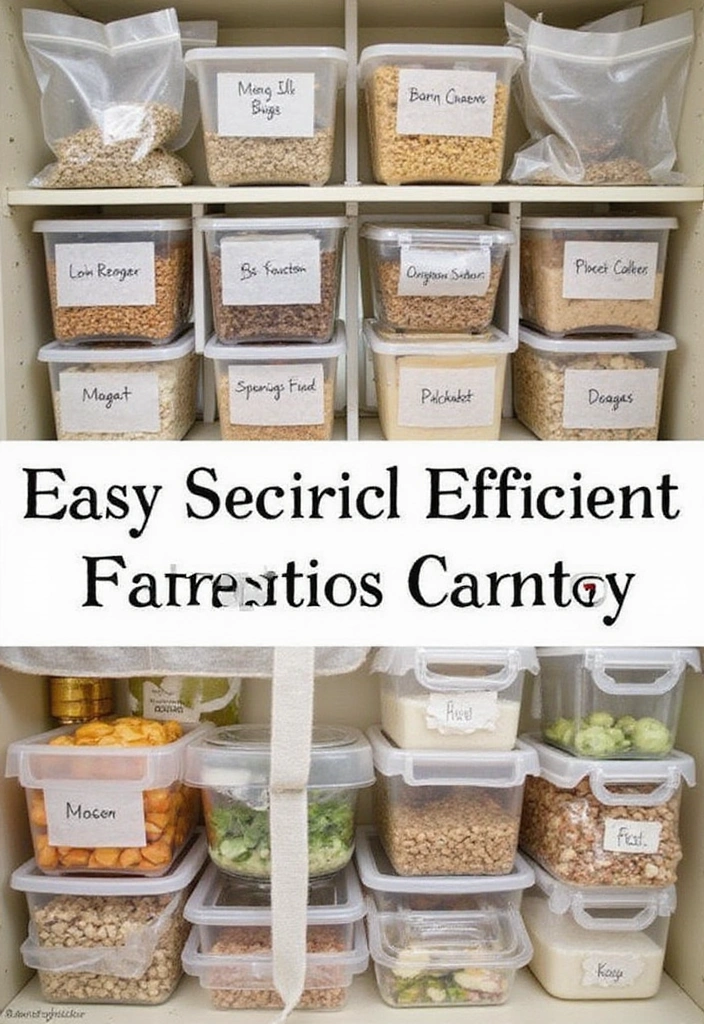
11. Label Everything
Labels are essential when it comes to keeping your pantry organized. Use a label maker like the Brother P-Touch PTD220 Home/Office Everyday Label Maker to clearly mark all your Mylar bags. This ensures you know exactly what’s inside each bag and when it was packed.
– Tip: Color code labels for different categories like snacks, meals, and baking supplies. You can utilize color-coded label stickers to make this process easy and visually appealing.
– Regularly update labels, especially if you frequently rotate your inventory. Using chalk markers can be a great option since they are erasable, allowing you to change labels as needed.
– A well-labeled pantry makes meal prep and cooking significantly easier.
Recipe Overview:
– Servings: N/A
– Prep Time: 15 minutes
– Total Time: 15 minutes
– Calories: N/A
Ingredients:
– Mylar bags
– Labels or a label maker
Step-by-Step Instructions:
1. Gather Mylar bags and labeling supplies.
2. Create clear, concise labels for each bag based on contents.
3. Stick or write labels on each Mylar bag.
4. Organize bags by category in the pantry.
– Tips: A color-coded system can help in quick identification, especially when you’re in a rush.
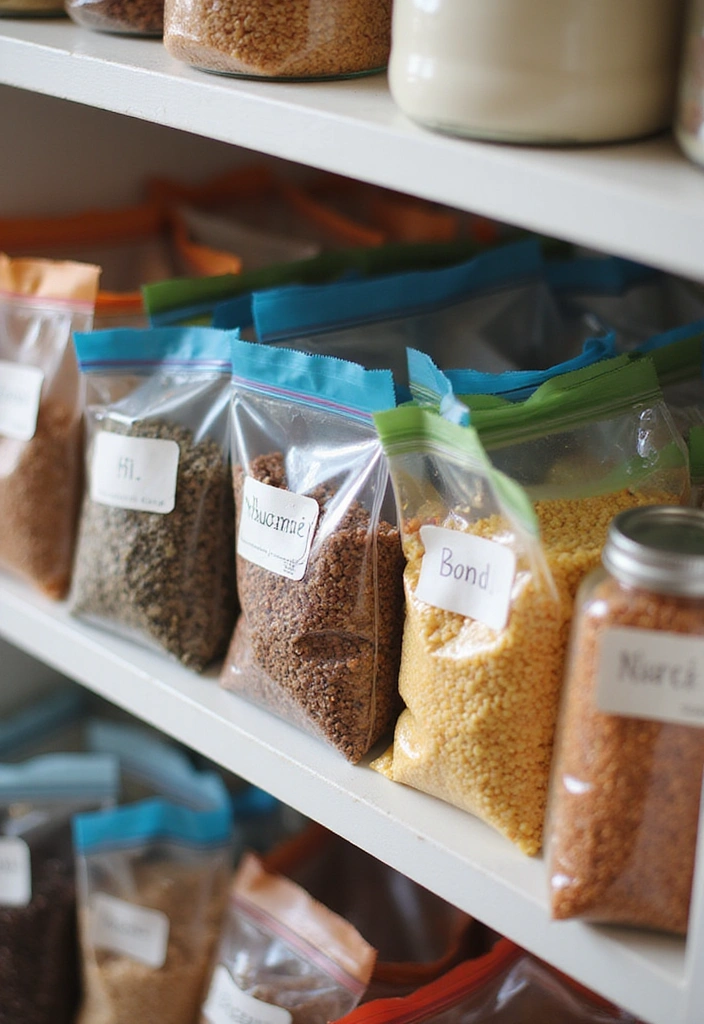
12. Create a Reusable Inventory System (You Won’t Believe This!)
Imagine a pantry where you always know what you have on hand and when it needs restocking! By attaching small, writeable tags or using erasable labels like Avery erasable labels on your Mylar bags, you can easily keep track of your inventory. This genius system not only allows you to update it quickly—without needing to open each bag—but also makes managing your food supplies a breeze.
– Tip: Use a dry-erase marker, such as the EXPO low odor dry erase markers, for easy updates.
– Keep a running inventory sheet in your pantry for quick reference.
– This approach not only saves time but also helps you plan meals around what you already have, minimizing waste.
Here’s how you can set it up:
1. Attach small tags or erasable labels to each Mylar bag.
2. Use a dry-erase marker to write what’s inside and the date packed.
3. Update the information as you use the contents.
4. Keep an inventory sheet next to your pantry for easy access.
– Tips: This can be a fun family project to get everyone involved in keeping track of food supplies!
– Rotate items based on what’s running low, and consider using Mylar bags for food storage to ensure your items stay fresh for the long haul.
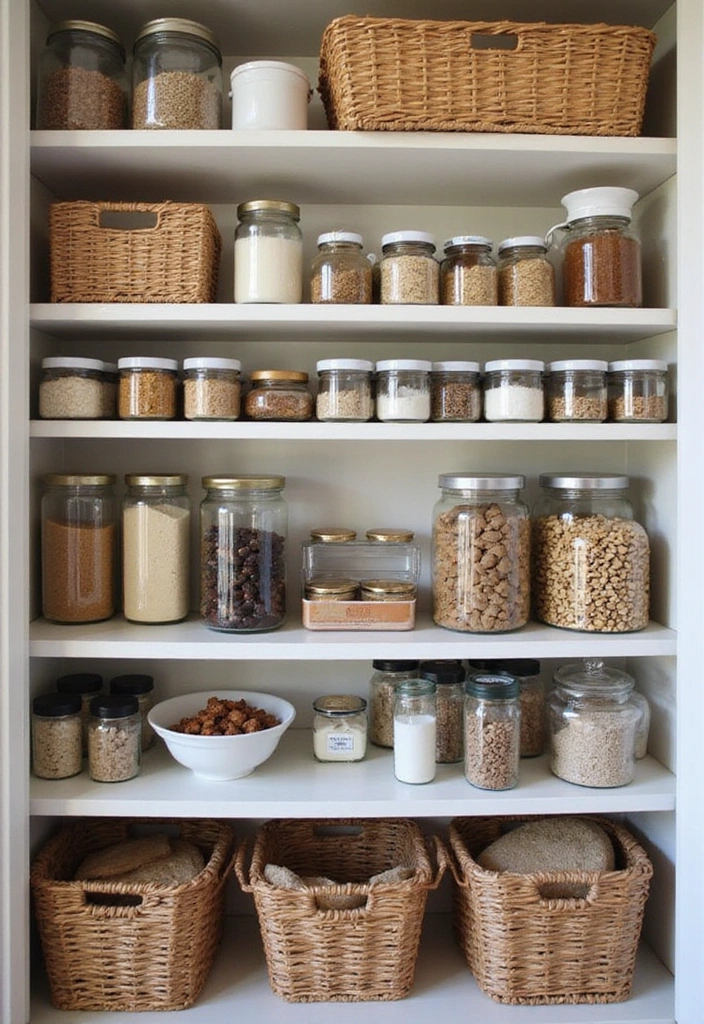
13. Use Air-Tight Containers for Mylar Bags
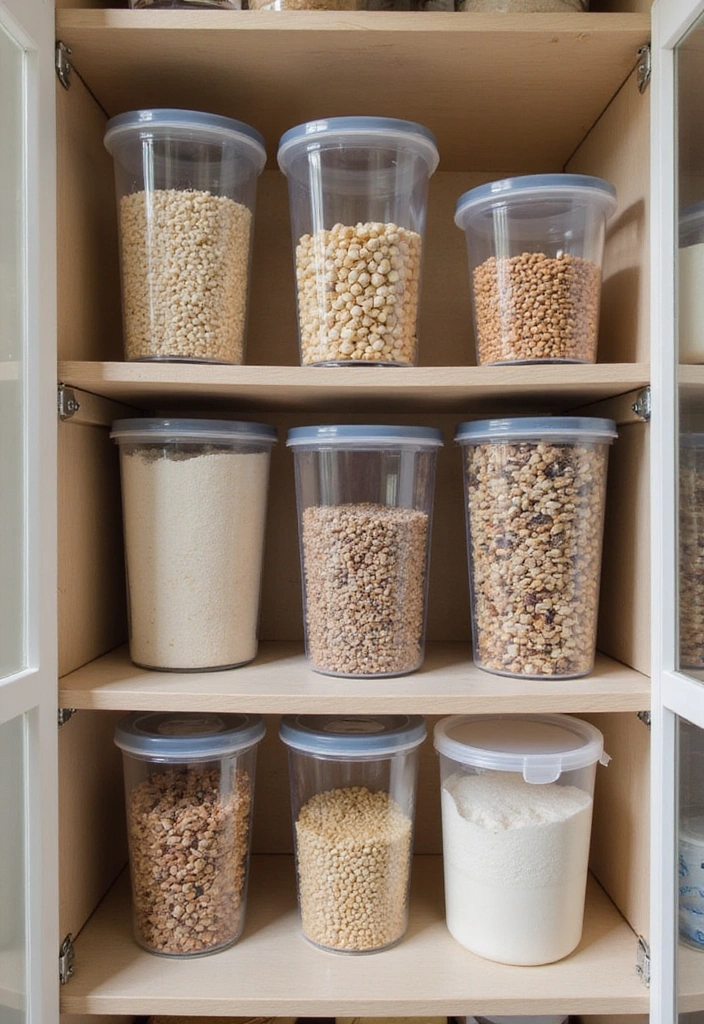
To take your organization to the next level, consider storing your Mylar bags in air-tight containers. Using high-quality airtight food storage containers not only protects the bags from punctures but also keeps everything organized in one place. This method is a win-win for both food preservation and pantry organization!
– Tip: Opt for clear containers to easily see what’s inside.
– Consider stacking containers to save space in your pantry.
– Regularly check the contents to avoid any surprises!
For those who want to ensure everything is labeled correctly, a label maker can be a valuable tool. With it, you can label your containers with their contents for quick reference, making it easier to find what you need at a glance.
Recipe Overview:
– Servings: N/A
– Prep Time: 10 minutes
– Total Time: 10 minutes
– Calories: N/A
Ingredients:
– Mylar bags
– Air-tight containers
Step-by-Step Instructions:
1. Gather Mylar bags filled with food products.
2. Place each Mylar bag into an air-tight container for added protection.
3. Label containers with contents using your label maker for quick identification.
4. Store containers in your pantry or on shelves.
This method works particularly well for delicate items like powdered sugar or flour that could be easily damaged. To get started, you can also check out Mylar bags for food storage, which come with oxygen absorbers to help ensure your food stays fresh for a long time.
14. Use Seasonal Storage
Consider the season when organizing your pantry with Mylar bags. Storing seasonal items together, such as summer fruits or holiday baking staples, makes it easier to find what you need while keeping everything fresh and organized. To enhance this process, consider using Mylar bags for food storage. These bags not only provide an airtight seal to protect your food but also come with oxygen absorbers to extend shelf life, ensuring your seasonal items are preserved at their best.
– Tip: Create a rotating system for seasonal foods, making sure to use up older items first.
– Clearly label what’s seasonal and when you should rotate them out. A label maker can make this task easy and efficient, allowing you to print clear labels that help you keep track of what items are in your pantry and when they should be used.
– This ensures you’re always using the freshest ingredients available!
Recipe Overview:
– Servings: N/A
– Prep Time: 10 minutes
– Total Time: 10 minutes
– Calories: N/A
Ingredients:
– Seasonal items or holiday favorites
– Mylar bags
Step-by-Step Instructions:
1. Gather seasonal items you want to store.
2. Place each item in Mylar bags, labeling clearly with your label maker.
3. Organize bags by season in the pantry.
4. Rotate seasonal items every few months for freshness.
This practice not only reduces waste but also ensures you enjoy seasonal flavors at their peak. For added organization, consider using food storage containers. These airtight containers complement your Mylar bags by providing additional storage solutions for your pantry, keeping everything neat and accessible.
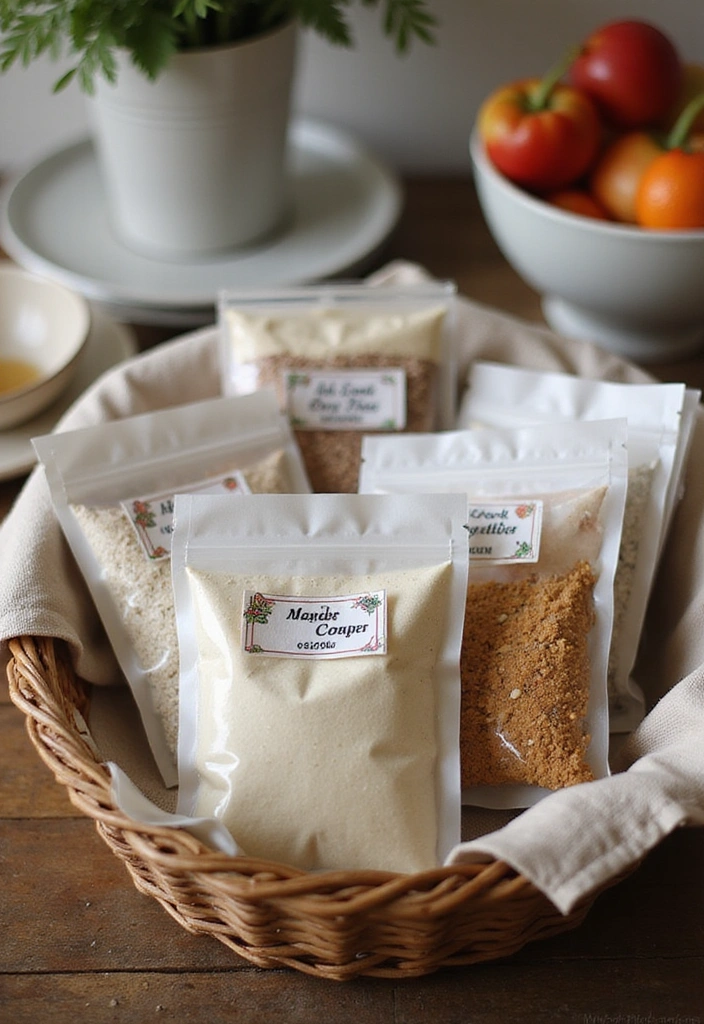
15. Organize Sauces & Spices
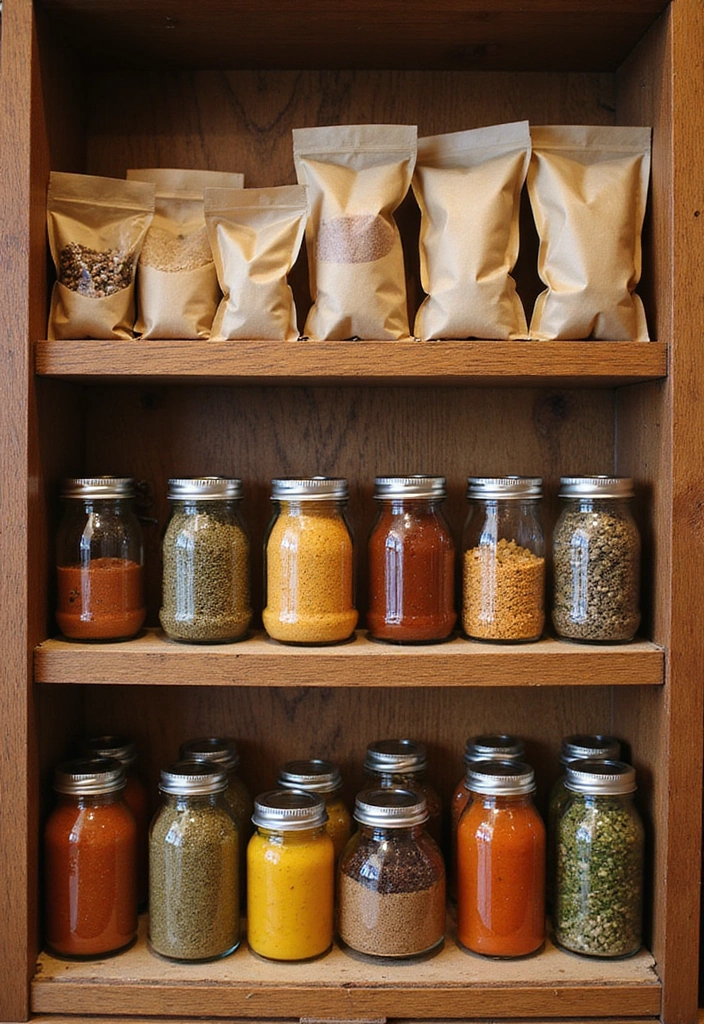
Sauces and spices can take up unnecessary space in your pantry. Consider transferring them into Mylar bags, like the Mylar bags for food storage, to keep them fresh and organized. These bags are designed for long-term food storage, ensuring your sauces and spices maintain their flavor over time. You can create seasoning mixes or store individual spices easily!
– Tip: Label each Mylar bag with the spice type and the date you opened it using a label maker for clear identification.
– Keep frequently used spices together for convenience. This method also helps in minimizing clutter from bulky bottles.
To further enhance your organization, consider using a spice organizer rack that includes 28 spice jars and labels. This will allow you to store your Mylar bags neatly in a dedicated space, making it easy to access your spices while cooking.
Recipe Overview:
– Servings: N/A
– Prep Time: 15 minutes
– Total Time: 15 minutes
– Calories: N/A
Ingredients:
– Sauce packets, spices, and seasonings
– Mylar bags
Step-by-Step Instructions:
1. Empty sauces or spices into their designated Mylar bags.
2. Seal tightly and label with contents and dates.
3. Store in a spice organizer or basket for easy access.
– Tips: Consider creating spice blends in advance for quick flavor boosts while cooking!
16. Make Your Own Instant Meals
### 16. Make Your Own Instant Meals
By creating instant meals packed in Mylar bags for food storage, you can have quick dinners ready to go. Combine your favorite ingredients like instant rice, beans, and spices into one bag for a hassle-free cooking experience. With these bags, your meals can stay fresh and protected from air and moisture, ensuring that you’re always equipped for a busy week!
– Tip: Label bags with cooking instructions for added convenience. Food labeling stickers are perfect for this, making it easy to note what each meal is and how to cook it.
– Consider making family favorites for more enjoyable meals.
– This also helps cut down on takeout options during busy weeks.
**Recipe Overview:**
– Servings: Varies
– Prep Time: 20 minutes
– Total Time: 20 minutes
– Calories: Varies
**Ingredients:**
– Instant rice, beans, spices, and any other quick-cook ingredients
– Mylar bags
**Step-by-Step Instructions:**
1. Gather ingredients for your instant meals.
2. Combine ingredients into Mylar bags for each meal.
3. Seal tightly and label with the meal name and cooking instructions using your food labeling stickers.
4. Store in a designated spot for quick access.
– Tips: Keep a variety of meals prepped for those busy nights when you don’t want to cook. Having your instant meals ready in Mylar bags makes weekday dinners a breeze!
17. Use Mylar Bags for Pet Food
### 17. Use Mylar Bags for Pet Food
Your furry friends deserve the best! Mylar bags can also be used to store pet food, keeping it fresh and safe from moisture and pests. Simply transfer the food into Mylar bags and label them with the type and date opened.
– Tip: Consider using odor-proof Mylar bags for especially pungent pet foods. These bags help contain strong smells, ensuring your pantry remains pleasant and tidy.
– This practice helps keep your pantry clean and avoids spills.
– Label clearly so you can easily identify your pet’s favorite food.
#### Recipe Overview:
– Servings: N/A
– Prep Time: 10 minutes
– Total Time: 10 minutes
– Calories: N/A
#### Ingredients:
– Pet food of choice
– Mylar bags
#### Step-by-Step Instructions:
1. Gather pet food and Mylar bags.
2. Pour the food into the bags, leaving some space at the top.
3. Seal tightly and label with the type and date packed.
4. Store bags in a designated spot for easy access.
– Tips: This helps keep your pet’s food fresher longer and minimizes pantry mess.
18. Enjoy the Benefits!

With all these tips and tricks, you’re ready to transform your pantry into an organized, efficient haven. Using Mylar bags for food storage not only extends the shelf life of your food but also optimizes your space and reduces waste. Each bag, equipped with 400cc oxygen absorbers, ensures that your food stays fresh and flavorful for the long haul.
As you implement these strategies, consider utilizing a vacuum sealer machine to further preserve your food. This multi-functional device quickly removes air from bags, which is ideal for storing perishables and minimizing freezer burn.
Additionally, incorporating food storage containers with lids can help keep your pantry tidy. These airtight containers are great for organizing dry foods like cereal, flour, and sugar, while the included labels make it easy to find what you need at a glance.
With these tools, you’ll find cooking becomes more enjoyable and less stressful. Plus, you can feel good knowing you’re prepared for anything life throws your way! Keep experimenting and adjusting your pantry organization as you go, ensuring it works for your lifestyle for long-term food preservation.
Conclusion
Organizing your pantry with Mylar bags for long-term food preservation is a game-changer. Not only do they keep your food fresh and safe for longer, but they also streamline your cooking process and reduce waste.
By incorporating these genius tips, you’ll discover a pantry that not only looks great but operates efficiently. Get started on your organization journey today and share your progress with friends!
Note: We aim to provide accurate product links, but some may occasionally expire or become unavailable. If this happens, please search directly on Amazon for the product or a suitable alternative.
This post contains Amazon affiliate links, meaning I may earn a small commission if you purchase through my links, at no extra cost to you.