
Transforming your garden harvest into delicious homemade goodies is not just a trend; it’s a delightful way to savor the freshness of your efforts all year round.
Canning and preserving are not only about food storage; they’re an art form that captures the essence of each season. Picture yourself enjoying the taste of summer peaches in the chilling winds of winter! With a bit of effort and creativity, your pantry can become a treasure trove of flavors that you produced with your own hands. From pickling to canning, these 21 techniques will not only fill your shelves but also fill your hearts with pride!
Let’s jump into the wonderful world of preserving!
Contents
- 1. Water Bath Canning
- 2. Pressure Canning
- 3. Pickling
- 4. Fermenting
- 5. Freezing
- 6. Making Jams and Jellies
- 7. Dehydrating
- 8. Chutneys and Salsas
- 9. Herb Infusing
- 10. Candying Fruits
- 11. Making Fruit Leather
- 12. Creating Compound Butters
- 13. Preserving with Sugar
- 14. Smoking
- 15. Storing Seeds
- 16. Making Sauces and Purees
- 17. Storing in Alcohol
- 18. Vinegar-Based Preserves
- 19. Blanching and Freezing
- 20. Traditional Curing
- 21. Upside-Down Canning
1. Water Bath Canning
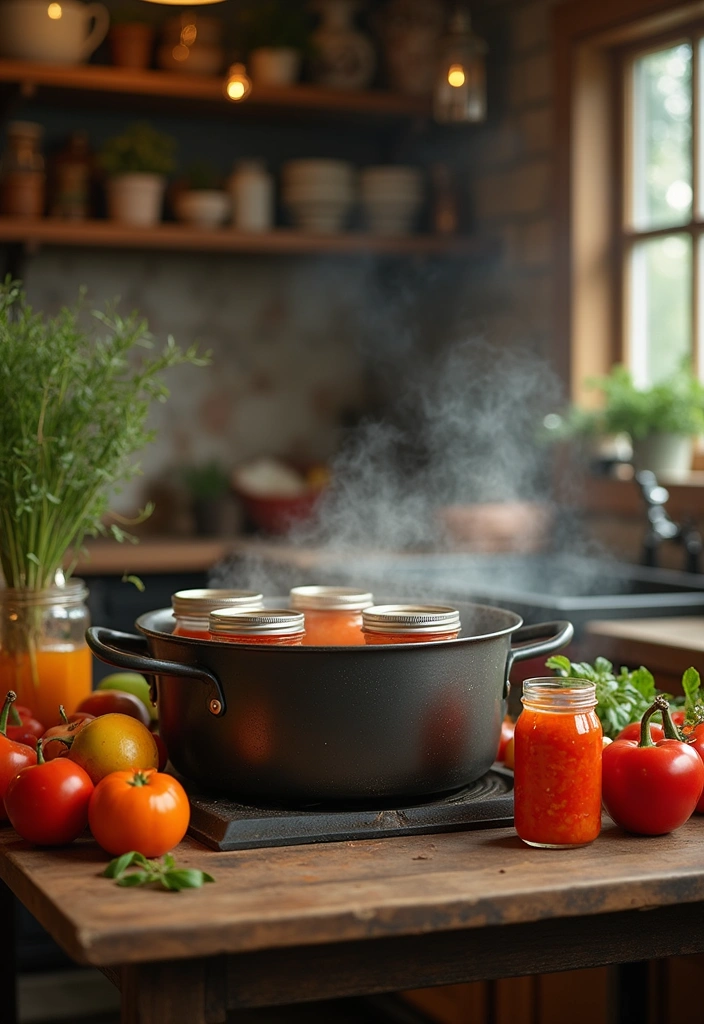
Water bath canning is the classic technique for preserving high-acid foods like fruits, tomatoes, and pickled vegetables. It’s accessible and perfect for beginners looking to start their preserving journey.
To get started, gather your fresh produce, canning jars, and a large pot. A great option for your jars is the Ball wide mouth clear glass canning quart 32 oz mason jars with lids, 12 pack. These jars are ideal for preserving your tasty creations and ensure a good seal for safe storage.
Here’s a simple step-by-step:
1. Prepare your jars by washing and sterilizing them in boiling water.
2. Prepare your fruit or vegetables by peeling, chopping, and cooking them with sugar or vinegar, depending on your recipe.
3. Ladle the hot mixture into the jars, leaving about ¼-inch headspace.
4. Wipe the rims clean, place the lids on, and screw on the rings until fingertip-tight.
5. Submerge the jars in boiling water for the time specified in your recipe. A reliable tool for this step is the Ball EasyCanner electric water bath canner, which simplifies the water bath process and ensures even heating for safe preservation.
6. Remove the jars and let them cool completely.
This method not only keeps the flavors vibrant but also gives a delightful pop when you open a jar!
Water bath canning is particularly appealing because you can experiment with different flavor combinations, such as peach-lavender jam or spicy cucumber pickles. Plus, it’s a great way to share your creations with friends and family!
If you’re just getting started, consider using a complete setup like the canning kit with tools, which includes a water bath canner, rack, XL ladle, measuring cups, and kitchen funnel. This all-in-one kit provides everything you need to make your preserving experience smoother and more enjoyable.
Be mindful of the altitude adjustments for processing times, as they can differ. This ensures that your food is safely preserved and shelf-stable for months to come.
2. Pressure Canning
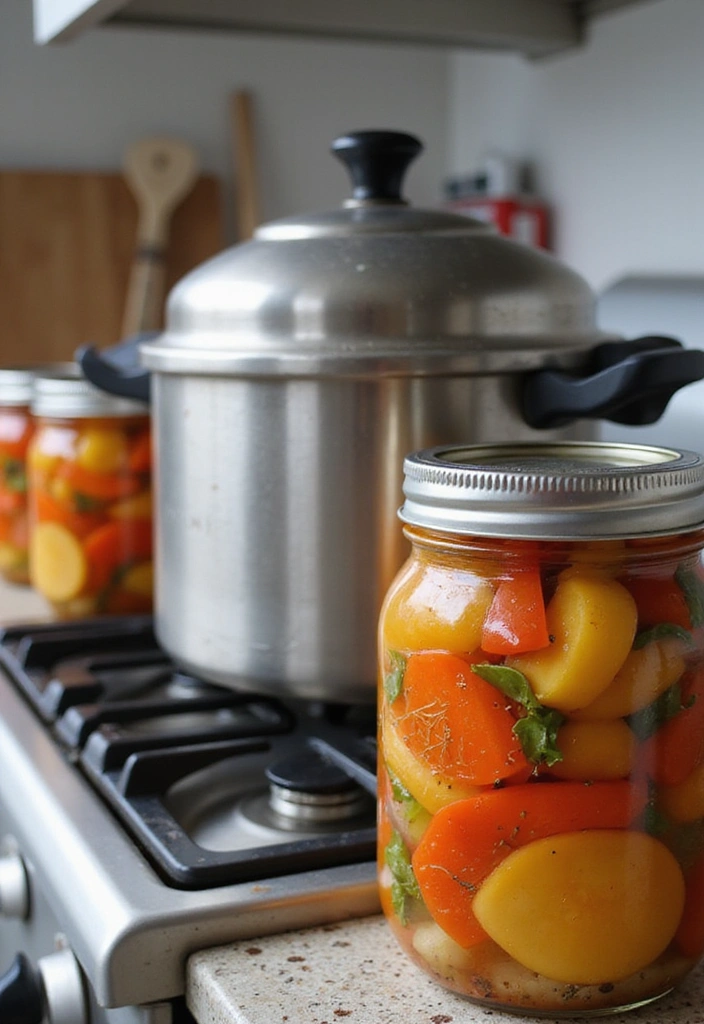
For those looking to preserve low-acid foods like vegetables, meats, and soups, pressure canning is the way to go! This method uses high pressure to reach temperatures above boiling, which is essential for safely preserving low-acid foods.
To jump in:
1. Start with a pressure canner, such as the T-fal Pressure Cooker Aluminum Pressure Canner. This 22-quart canner offers multiple PSI settings and is perfect for canning various low-acid foods.
2. Sterilize your jars—using Glass Regular Mouth Mason Jars is a great choice, as they come with silver metal lids that ensure a tight seal for long-term storage. These jars are versatile for canning, storing overnight oats, or holding snacks.
3. Prepare your food—think green beans, carrots, or beef stew—and pack your hot food into the jars, leaving appropriate headspace.
4. Seal the jars with lids and process them according to your canner’s instructions; typically, this involves venting, then sealing, and adjusting to the desired pressure.
5. Cool down the canner according to the guidelines.
Pressure canning is not just about preservation; it’s a lifesaver for meal prep! Imagine reaching for a jar of homemade chili on a busy weeknight. Easy, nutritious, and bursting with flavor!
Just remember, safety is key with pressure canning. Always check for proper seals and follow the guidelines to avoid any mishaps. To ensure your jars remain sealed, consider using Ball Regular Mouth Lids, which come in packs of 96 and are great for canning, pickling, and preserving your favorite recipes. This technique opens up a world of options beyond fruits and jams, giving you a chance to enjoy hearty meals in a jar during any season.
3. Pickling
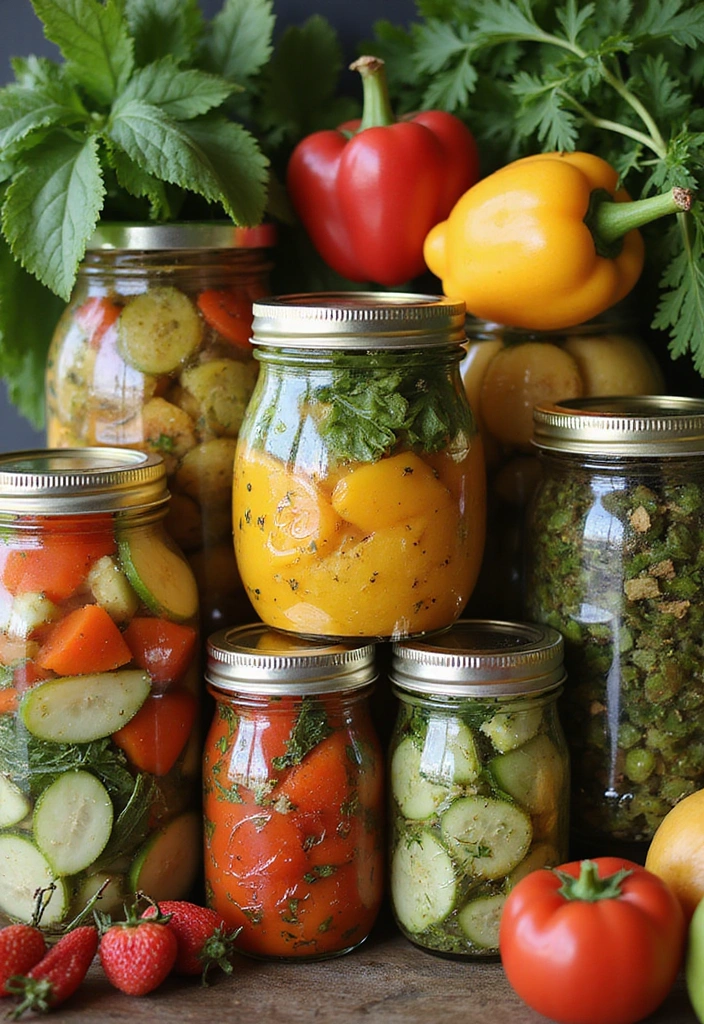
Pickling is a fabulous way to add zing to your meals and preserve that fresh garden produce. With this method, you can create a variety of flavorful concoctions, from classic dill pickles to spiced beets.
Here’s a straightforward recipe:
1. Choose fresh cucumbers, carrots, or other veggies.
2. Prepare your pickling brine by heating a mixture of vinegar, water, salt, and sugar, along with spices (like dill, garlic, or mustard seeds). For a perfect blend of flavors, consider using Badia extra fancy pickling spice, which is a fragrant mixture of premium spices that can elevate your pickling game.
3. Pack your vegetables into sterilized jars. A great option for this is the Ball wide mouth clear glass canning quart 32 oz mason jars with lids—they’re perfect for ensuring your veggies are fully submerged in the brine.
4. Pour the hot brine over the packed vegetables, seal the jars, and let them cool before refrigerating or processing in a water bath. If you plan on canning multiple jars, the Ball EasyCanner electric water bath canner makes the process much more efficient and straightforward.
The beauty of pickling lies in its versatility! You can experiment with different flavors, add herbs, or even infuse the brine with unique spices. Not to mention, pickled veggies make incredible snacks or toppings for salads, sandwiches, and charcuterie boards.
Keep in mind that the brine flavor will mellow over time, so taste your creations after a couple of weeks! And don’t forget to create beautiful labels for your jars—homemade gifts look even more appealing!
4. Fermenting
Fermenting is a time-honored technique that not only preserves food but also boosts its nutritional value. This method uses natural bacteria to transform vegetables into tangy, probiotic-rich delights.
To ferment at home, start by chopping your desired vegetables—cabbage for sauerkraut or cucumbers for pickles are excellent choices. Next, mix the chopped veggies with salt and massage them until they release their juices. For the best results, pack them tightly into a jar, ensuring the vegetables are submerged in their own brine. This is where a reliable fermentation kit comes in handy. It includes everything you need for a successful fermentation process, such as airlock lids that prevent contamination while allowing gases to escape.
Once packed, cover the jar and let it sit at room temperature for several days, tasting periodically until it reaches your preferred flavor. Using glass fermentation weights can help to keep your vegetables submerged, ensuring even fermentation and preventing spoilage.
Fermenting is all about patience and personal preference! Feel free to experiment with different spices and herbs to create a unique flavor profile each time. Plus, fermented foods are fantastic for gut health. They can be enjoyed on their own or used as toppings on various dishes. The vibrant, fizzy taste of homemade kimchi or tangy sauerkraut will elevate your meals to a whole new level.
To store your creations, consider using mason jars with lids. These airtight containers are perfect for keeping your fermented delights fresh and ready to enjoy.
5. Freezing

Freezing is one of the simplest preserving methods, allowing you to capture garden-fresh flavors without much fuss. It’s great for fruits, vegetables, and even herbs!
To freeze effectively:
1. Wash and prepare your produce—chop or slice as needed.
2. For most vegetables, blanching (brief boiling) helps preserve color and nutrients.
3. Spread the produce on a baking sheet to freeze individually before transferring to bags or containers. This prevents clumping.
4. Label and date your items, and store them in the freezer.
To help you with these steps, consider using a food vacuum sealer. This handy device removes air from bags, keeping your frozen produce fresher for longer. It’s an excellent investment if you want to ensure that your harvest maintains its flavor and texture.
Additionally, using freezer storage bags can simplify the process of organizing your frozen produce. These bags are designed to withstand low temperatures, making them perfect for sealing in the goodness of your fruits and veggies. Plus, they come in a large count, so you’ll have plenty on hand for all your freezing needs.
Freezing is an excellent option for busy households. You can stock your freezer with ready-to-use ingredients for smoothies, soups, or stir-fries.
Take note: some fruits, like strawberries or bananas, freeze beautifully, while others may turn mushy. But no worries! Cooking them down into sauces or smoothies is a tasty alternative. Plus, it’s always a joy to pull out a bag of summer berries in the middle of winter!
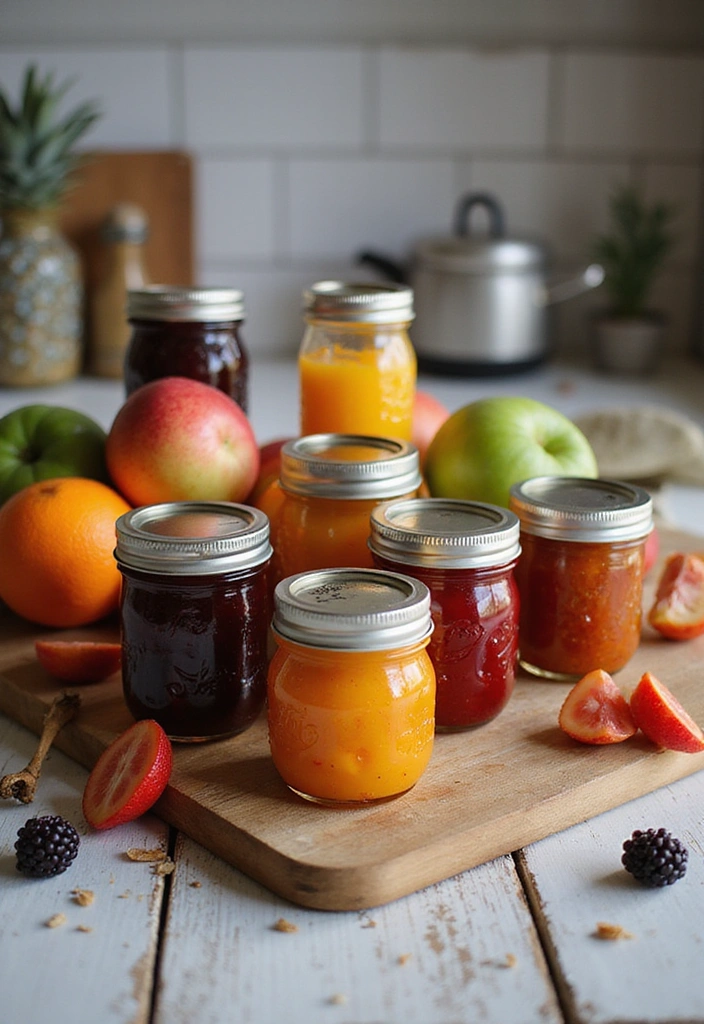
6. Making Jams and Jellies
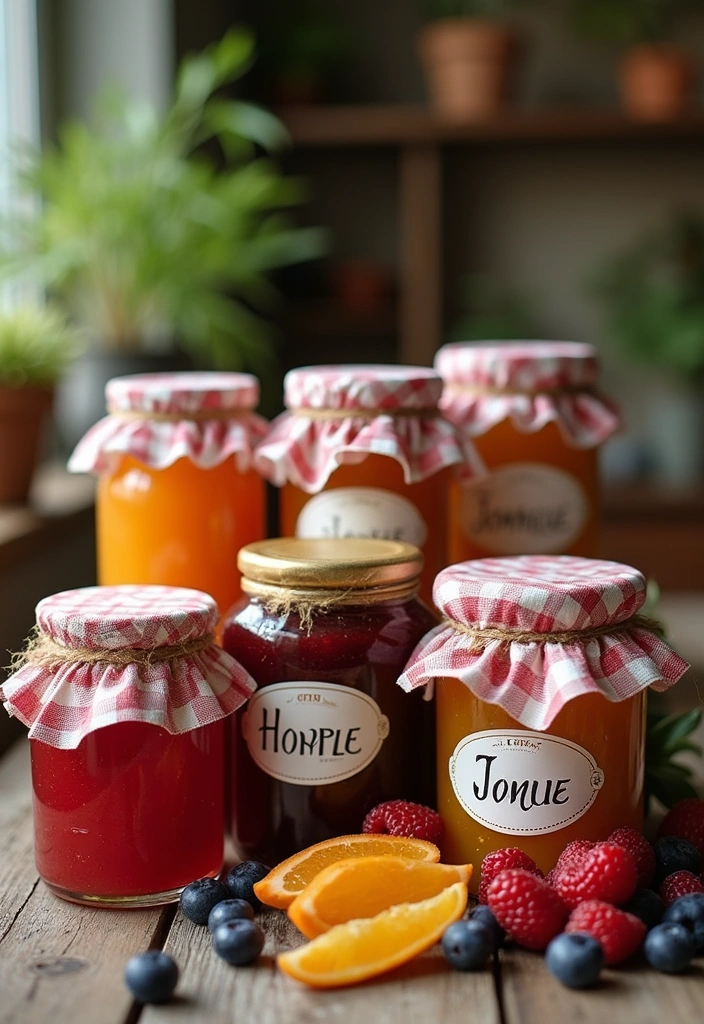
Creating jams and jellies is one of the sweetest ways to preserve your harvest. The process is not only fun but also allows you to play with flavor combinations that may surprise you!
To craft a delightful jam, start by choosing ripe fruit, ensuring it’s at peak freshness for the best flavor. You can use a handy fruit masher to mash or chop the fruit, measuring it along with sugar in equal parts (feel free to adjust for sweetness).
Cook this mixture, stirring until it reaches a rolling boil. For jellies, you’ll need to strain the mixture to remove solids. Test for doneness by placing a spoonful on a cold plate; if it gels, it’s ready!
Next, ladle your jam into sterilized jars. To make this process easier, consider using canning jar set which comes with 12 wide mouth jars, perfect for all your preserving needs, and helps ensure a good seal. Finally, process the jars in a water bath canner for safe preservation.
The appeal of homemade jams is twofold: they taste divine, and they make fantastic gifts! Think of peach-vanilla or mixed berry jams as the perfect way to share a slice of summer with friends.
Don’t forget to experiment with different pectin types and sugar alternatives for unique textures and flavors. Label your creations beautifully for an added touch!
7. Dehydrating
Dehydrating is a brilliant way to preserve herbs, fruits, and even vegetables by removing their moisture content, which inhibits spoilage. This method helps you maintain flavors and nutrients while creating unique snacks.
To get started with dehydrating:
1. Wash and slice your produce—apples, peaches, or even zucchini work well.
2. Use a dehydrator like the Magic Mill Pro Food Dehydrator, which includes seven stainless steel trays and features like a digital timer and temperature control to make the process easy and efficient.
3. Spread the slices evenly on trays and dry them until they’re crisp or leathery, depending on your preference.
4. After dehydrating, store your creations in airtight containers like the OXO Good Grips POP Container to keep them fresh, or use a vacuum sealer such as the Vacuum Sealer Machine for long-term preservation.
Dehydrated fruits make wonderful snacks and trail mixes, while dried herbs can elevate your cooking to new heights. The process is not only satisfying but also incredibly rewarding, as you can create flavors reminiscent of summer all year long.
And here’s a tip: experiment with different seasonings on your veggies or fruits before dehydrating for a fun twist!
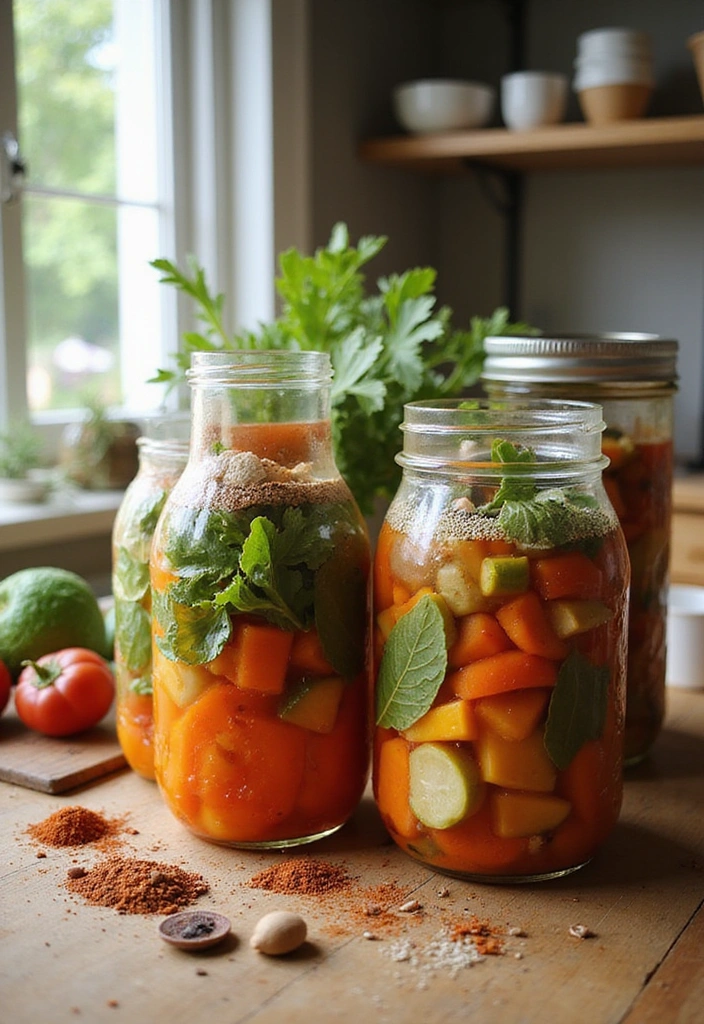
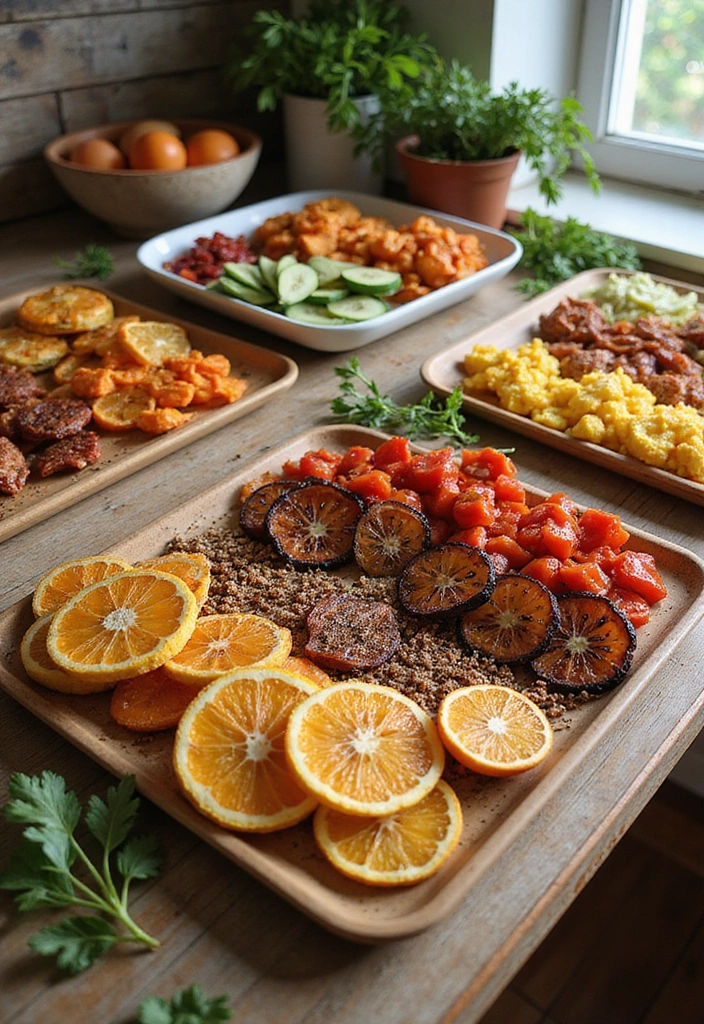
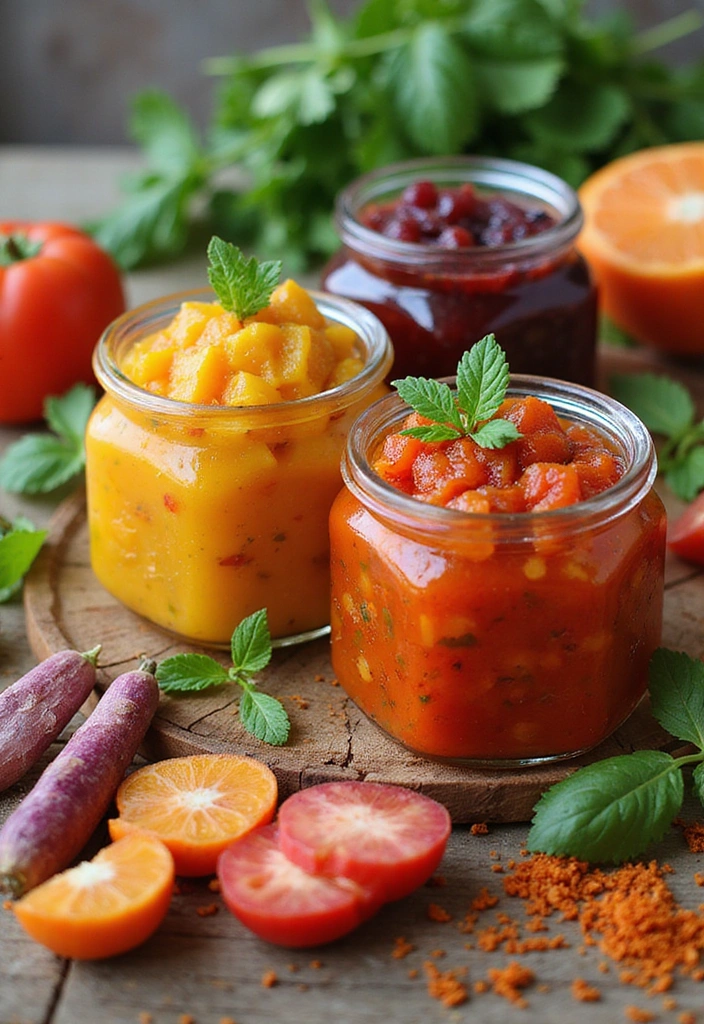
8. Chutneys and Salsas
Chutneys and salsas bring a burst of flavor and creativity to your preserving efforts. They are not only delicious but also a fantastic way to use up a variety of garden produce in one go!
To whip up a simple chutney, start by combining diced fruits or vegetables with vinegar, sugar, and spices in a pot. Simmer until it thickens, stirring occasionally. Popular combinations include mango chutney or tomato salsa. Once your chutney is ready, ladle it into sterilized jars—this is where the Ball wide mouth clear glass canning quart jars come in handy. Their wide mouth design makes filling and cleaning a breeze, ensuring your chutney stays fresh.
After you’ve filled your jars, you’ll need to process them in a water bath, and for that, a reliable Ball EasyCanner electric water bath canner can make the job much simpler. This electric canner allows you to preserve your chutneys with ease, so you can enjoy them all year round.
These condiments can elevate any dish, from grilled meats to crackers and cheese, and they also make wonderful gifts, adding a personal touch to any gathering. Chutneys last in the fridge for a couple of weeks after opening, while canned versions can be enjoyed for up to a year.
If you’re just starting out, a canning tool kit is an essential addition to your kitchen. This kit includes all the necessary tools for water bath and pressure canning, helping you master the art of preserving with confidence.
Customize your recipes by adding ingredients like fresh herbs, spices, or even nuts for a unique twist!
9. Herb Infusing
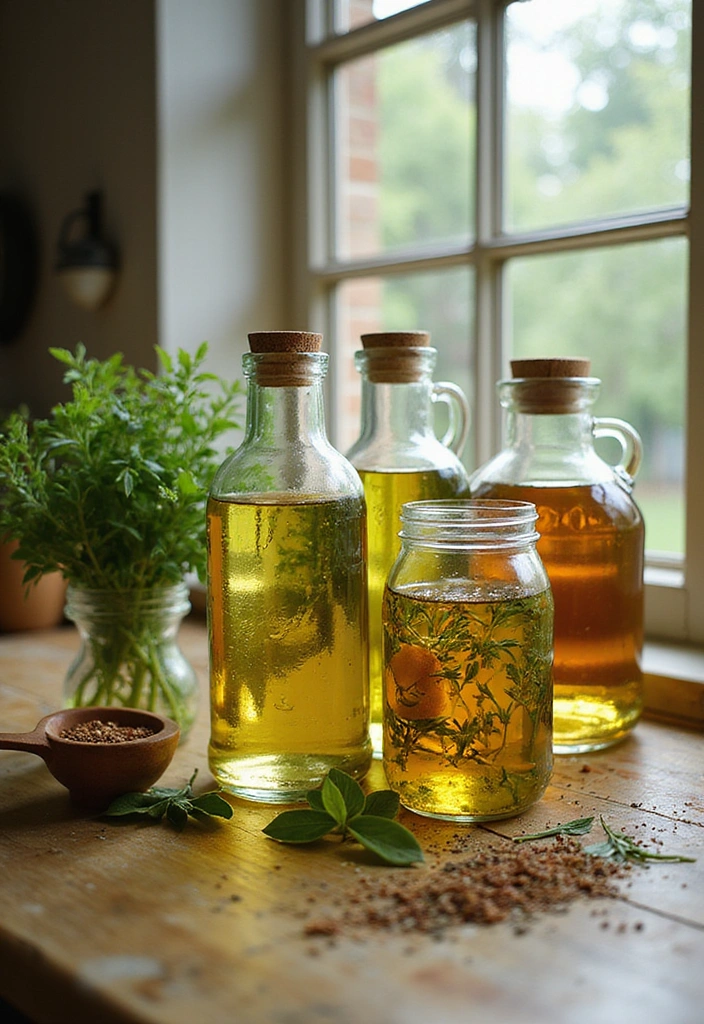
Herb infusing is a magical way to preserve the essence of your garden herbs in oils, vinegars, and even butters. This process adds flavor to your dishes while also extending the life of your herbs.
Get started with herb-infused oils:
1. Choose a base oil, such as Atlas 750 mL organic cold press extra virgin olive oil for a rich flavor, or grapeseed oil, along with your favorite fresh herbs.
2. Lightly bruise the herbs to release their oils, then combine them in a jar with the oil.
3. Seal and let the mixture sit in a warm, dark place for about two weeks, shaking occasionally.
4. Strain and store in a clean bottle.
Infused oils are perfect for drizzling over salads, pasta, or even as a dipping oil for bread. With the high-quality olive oil, you’ll find that the robust flavor enhances your infusions beautifully. Infused vinegars can be used in salad dressings or marinades, while herb butters add a delightful touch to grilled meats or vegetables.
Just remember to label your creations and use them within a few months for the best flavor. This method is an excellent way to explore new flavor horizons in your cooking! If you’re looking for a convenient way to serve your creations, consider using a glass infuser bottle, which makes it easy to share your flavorful infusions with friends and family.
10. Candying Fruits
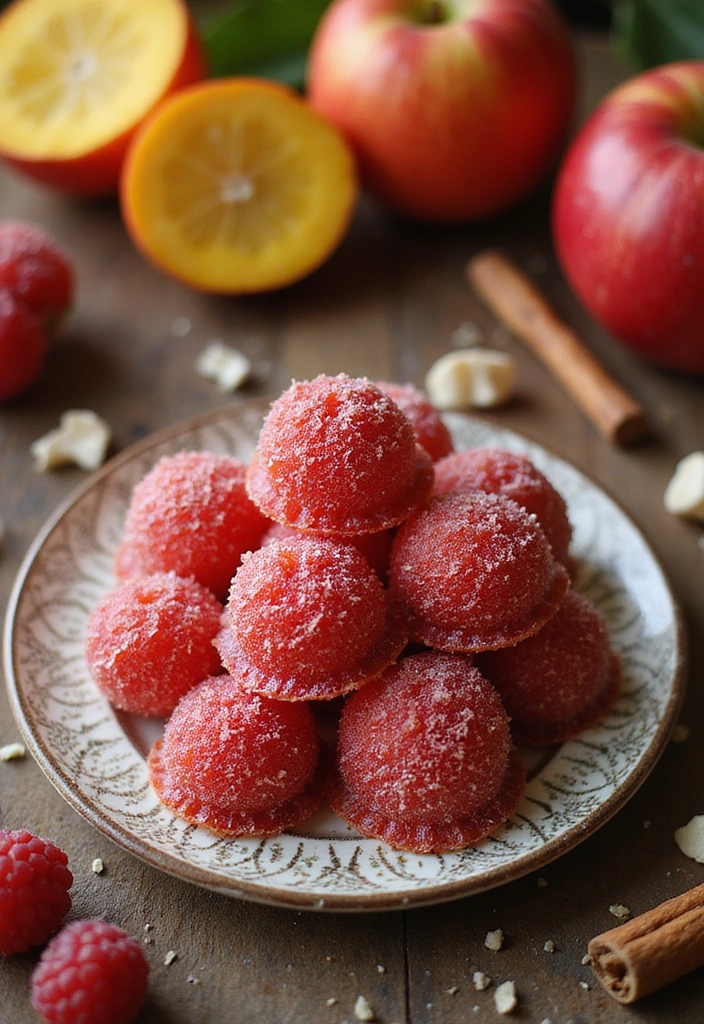
Candying fruits is a delightful way to preserve them while creating sweet treats! This technique transforms fresh fruits into chewy, sugary confections that can be enjoyed on their own or used as toppings for desserts.
To candy fruits:
1. Choose fruits like citrus peel, cherries, or pineapple. Wash and slice them into manageable pieces.
2. Prepare a sugar syrup by boiling water and sugar in equal parts until dissolved. A reliable tool for measuring the temperature of your syrup is a candy thermometer. This ensures your syrup reaches the right consistency for perfect candying.
3. Add the fruit to the syrup and simmer for about 30 minutes.
4. Remove the fruits and let them cool on a wire rack. Once cooled, roll them in granulated sugar.
These sweet bites are not only a tasty treat but can also be delightful additions to baked goods or charcuterie boards. They have a shelf-life of several months if stored properly in glass storage jars. With airtight lids, these jars help keep your candied fruits fresh and flavorful, making them an excellent way to capture the tastes of summer.
Experiment with different flavors by adding spices or extracts into your candying syrup for unique twists!
11. Making Fruit Leather
Fruit leather is a fun and healthy snack that preserves the goodness of fruit while offering a chewy delight! This method is a hit with kids and adults alike, making it a fantastic addition to your preserving repertoire.
To make fruit leather:
1. Select ripe fruits—berries, peaches, or apples work wonderfully! Puree the fruit, adding a bit of honey or lemon juice for flavor.
2. Spread the puree evenly on a dehydrator tray or a lined baking sheet. For best results, consider using a food dehydrator like the Magic Mill Pro Food Dehydrator Machine. With its multiple stainless steel trays and precise temperature control, it ensures your fruit leather dehydrates evenly and effectively.
3. Dehydrate at low heat (around 135°F or 57°C) until it’s no longer sticky.
4. Cut into strips and roll them in parchment paper for easy storage. Using silicone baking mats can help with this step, as they provide a non-stick surface that makes spreading the puree easier and cleanup a breeze.
Fruit leathers are not just delicious; they make for great snacks on the go! They have a long shelf-life when stored in an airtight storage container like the OXO Good Grips POP Container. This will help keep your fruit leather fresh and ready to enjoy whenever you need a tasty treat. Plus, it’s a fun way to involve kids in the preservation process—they will love making their own snacks!
Feel free to mix different fruits or add spices for an added flavor kick. This method keeps the essence of your garden harvest alive in a tasty, portable form.
12. Creating Compound Butters
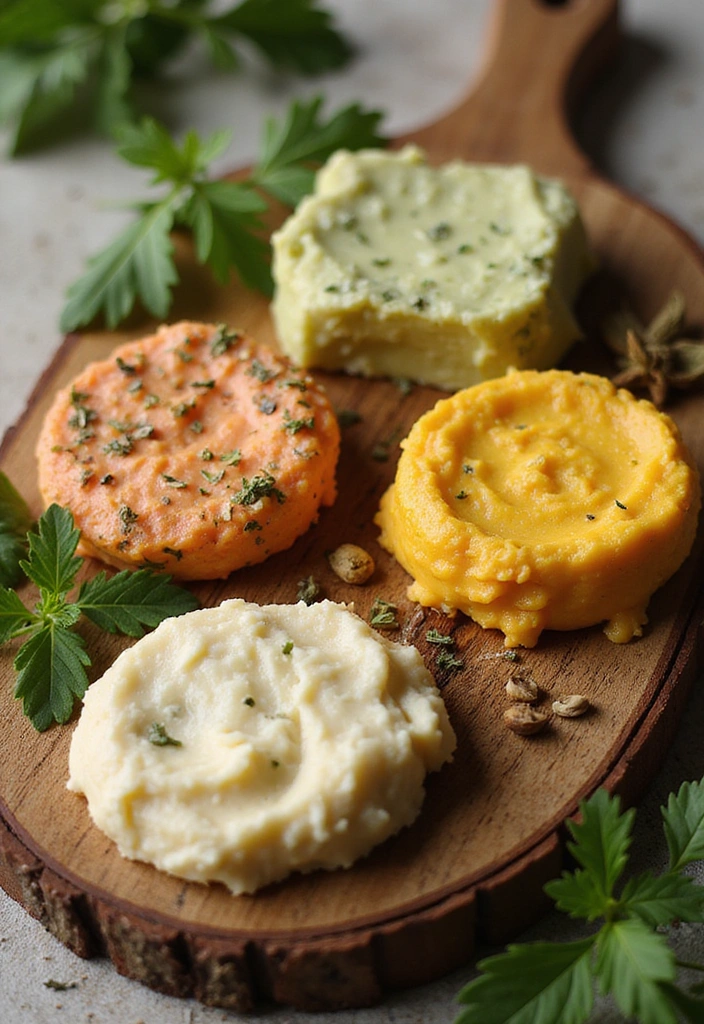
Creating compound butters is an innovative way to preserve the flavor of your herbs and spices while adding flair to your cooking. These flavored butters are incredibly easy to make and elevate any dish!
To craft your compound butter:
1. Soften unsalted butter at room temperature.
2. Mix in your choice of chopped herbs, spices, or even sweet ingredients like honey or cinnamon. For easy herb preparation, consider using herb scissors to quickly chop your fresh herbs.
3. Shape the mixture into a log using parchment paper, twisting the ends to seal it.
4. Refrigerate or freeze until firm.
Use these butters on grilled meats, vegetables, or even spread them on warm bread. They add rich flavors with minimal effort!
To store your compound butters, an airtight butter dish with lid is a great option. It keeps your butters fresh and makes it easy to access them whenever you want to enhance a meal.
Compound butters can also be wonderful gifts; imagine a rosemary-garlic butter wrapped beautifully for a foodie friend. The options are endless, allowing you to get creative with your flavors!
13. Preserving with Sugar
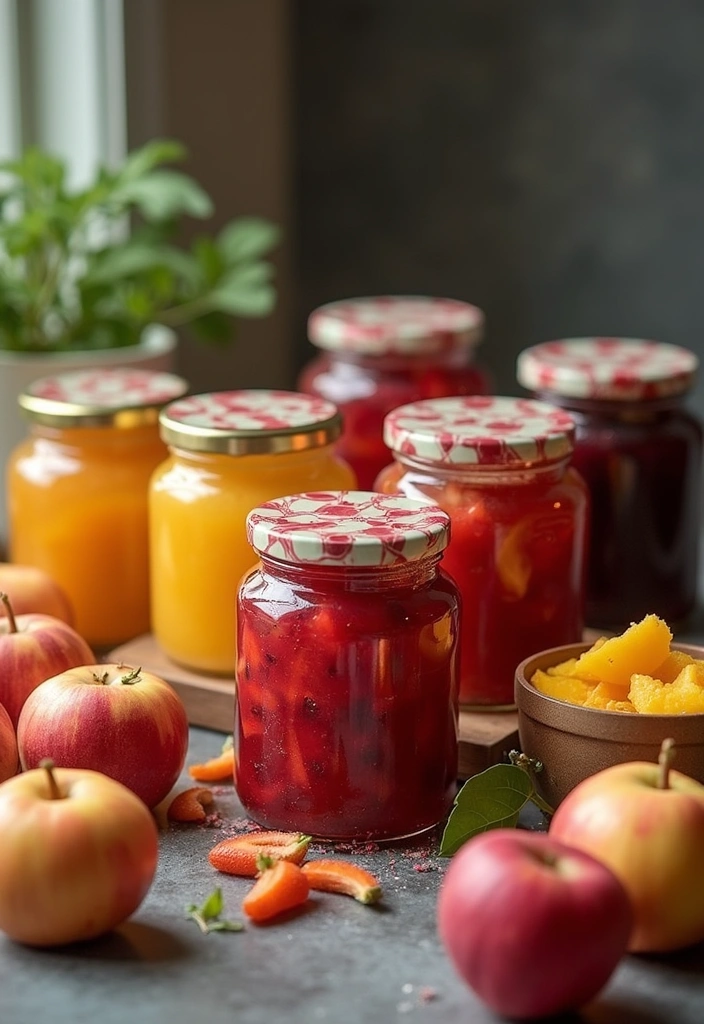
Preserving with sugar is another classic technique that can transform fruits into delicious preserves or fruit compotes. This method is perfect for showcasing the natural sweetness of your harvest!
To preserve with sugar:
1. Chop your fruit—apples, peaches, or berries work well—and combine them with sugar in a pot.
2. Let the mixture sit for a while to draw out the juices before cooking it gently.
3. Once it thickens to your liking, ladle it into sterilized jars and seal them.
For this process, using canning jars set like the Ball Wide Mouth Clear Glass Canning Quart jars makes preserving easier, as they are designed to handle a variety of preserves and ensure your creations stay fresh.
These sweet treats can be enjoyed on toast, in desserts, or even alongside savory dishes. The beauty of sugar preserves is that they maintain the fresh flavors of the fruits and have a long shelf life if canned correctly.
Consider adding spices like nutmeg or vanilla for an extra layer of flavor. And when it comes time to jar your preserves, a handy tool like the jar lifters for canning ensures you can safely lift your hot jars from the boiling water without risking burns.
For more recipes and techniques, the sugar preserving cookbook by Ball offers a wealth of knowledge that will inspire you to make the most of your harvest. Homemade sugar preserves are perfect for sharing, gifting, or simply enjoying yourself!
14. Smoking
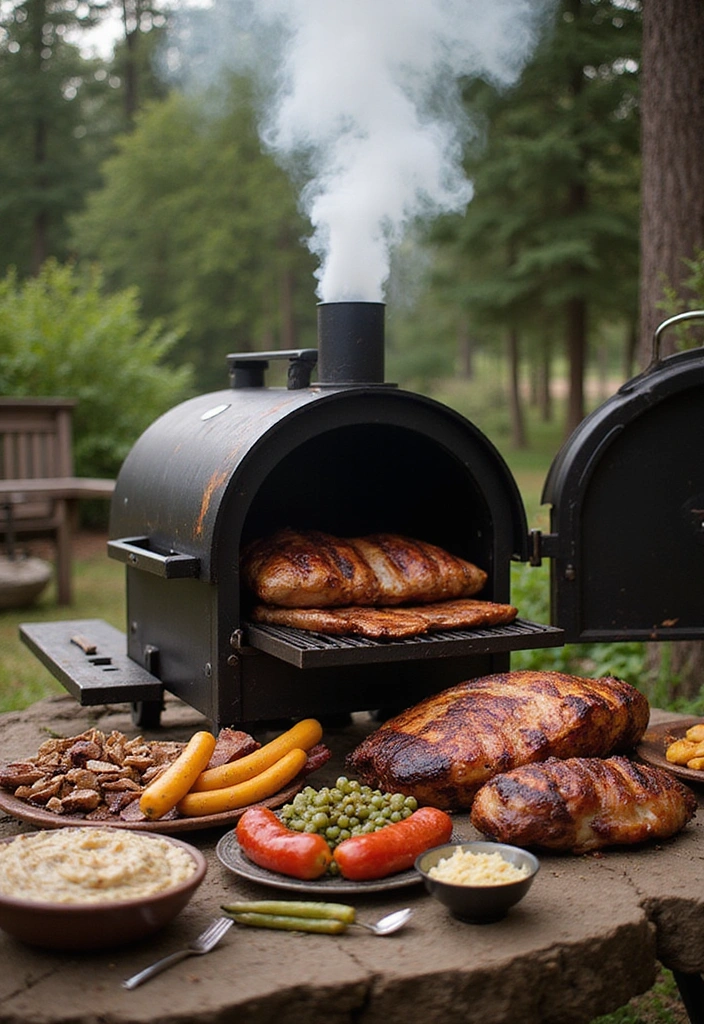
Smoking is a unique preserving method that adds an incredible depth of flavor to meats and even some vegetables. It’s a technique that requires a bit of patience but results in deliciously smoky treats!
To get started with smoking, first choose your protein or vegetables and marinate them in your favorite spices. Next, prepare your smoker with wood chips for flavor; consider using Weber apple wood chips for a subtle sweetness that complements a variety of foods.
Smoke the food slowly, keeping the temperature low for a few hours until it’s fully cooked. Using an Electric Smoker can make this process easier, especially with its large capacity and built-in meat thermometer that ensures your food reaches the perfect doneness without guesswork.
The smoked flavor enhances everything, from meats to cheeses, giving your pantry a gourmet twist. Plus, the preservation aspect helps maintain the food longer! To ensure your meats are cooked perfectly, a reliable digital meat thermometer is essential; it provides an instant read, making it easier to check for doneness without opening the smoker too often.
Experiment with different types of wood chips to create unique flavor profiles. This method is a culinary adventure worth trying!
15. Storing Seeds
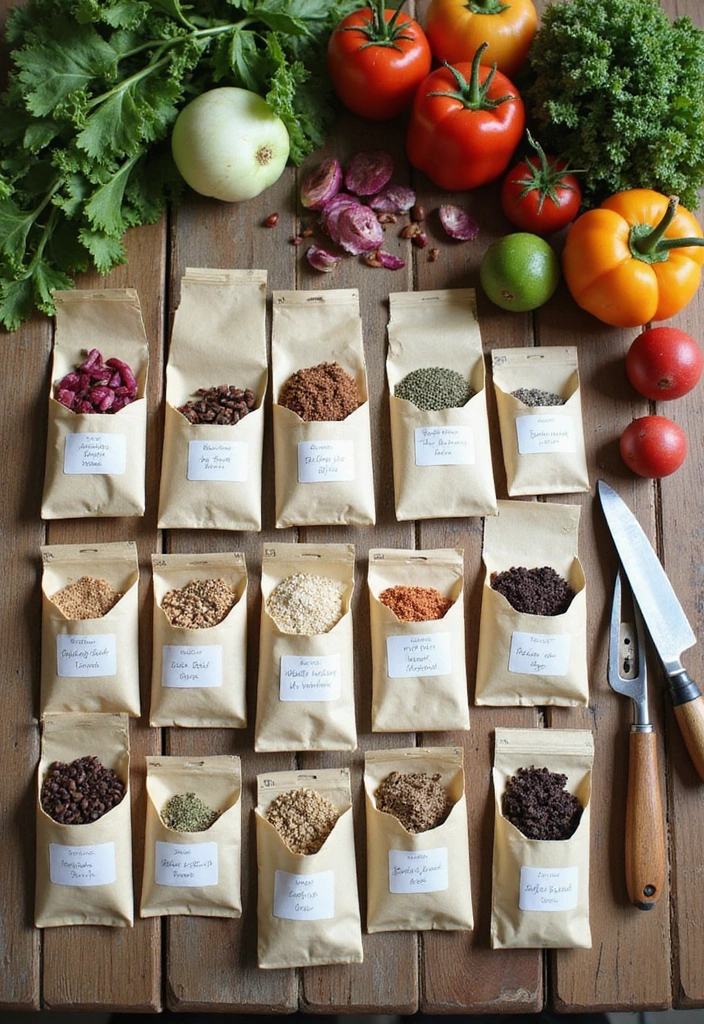
One of the most sustainable ways to preserve your garden harvest is by saving seeds for next year’s planting. This practice ensures you maintain your favorite varieties and save money!
To store seeds:
1. Allow your fruits to fully ripen and then extract the seeds.
2. Clean and dry the seeds thoroughly to prevent mold.
3. Store them in labeled envelopes or jars in a cool, dark place.
Using seed storage envelopes can be a simple and effective solution for organizing your seeds. These resealable brown kraft paper packets come with a clear window and preprinted seed collecting template, making it easy to identify your stored seeds.
For those who prefer a more durable option, a glass seed storage jar offers a sturdy way to keep your seeds safe. This organizer features a dual zipper bag and includes label stickers, ensuring everything is neatly stored and easy to access.
Labeling is essential for keeping your seed collection organized. Using seed labeling stickers can help you identify each variety with ease. These removable labels allow you to mark your jars or envelopes clearly, so you’ll know exactly what you have stored.
Seed saving is not just preservation; it’s an investment in future harvests. By choosing your best plants for seeds, you can enhance traits over generations.
Join seed exchange communities to share and discover new varieties, broadening your gardening horizons. It’s all about sustainability and nurturing your gardening journey!
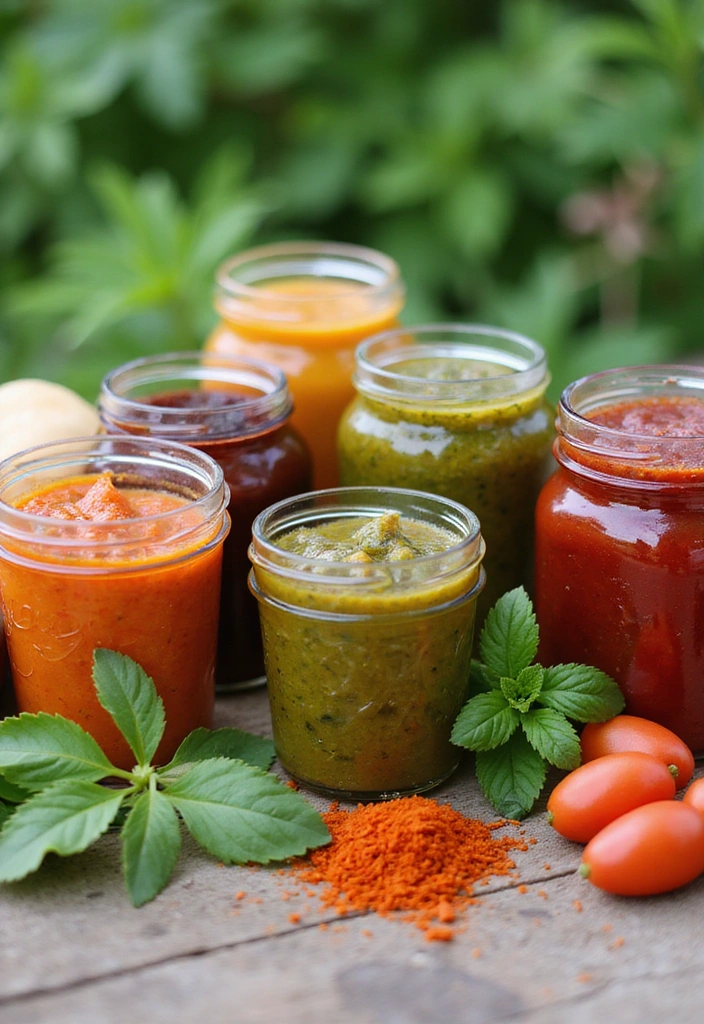
16. Making Sauces and Purees
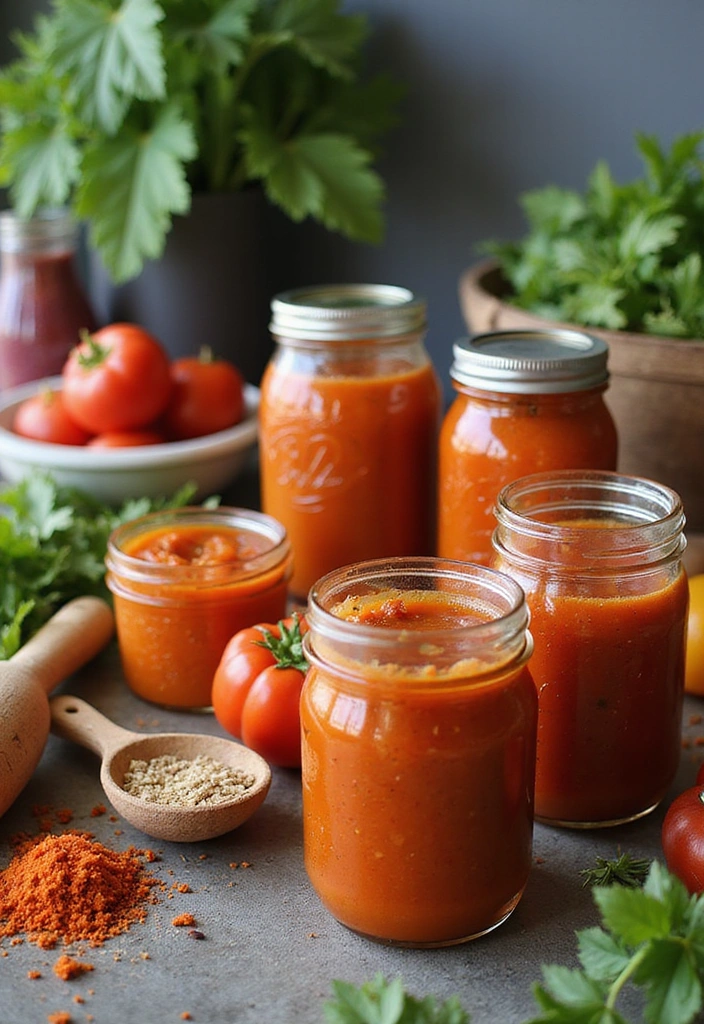
Creating sauces and purees is a fantastic way to preserve tomatoes, berries, or even herbs while adding depth to your cooking. These versatile items can enhance meals with ease!
To make a simple tomato sauce:
1. Start with fresh, ripe tomatoes; wash and chop them.
2. Cook them down with onions, garlic, and herbs until they break down into a sauce.
3. Blend until smooth using a KitchenAid variable speed corded hand blender for a quick and easy process, then can or freeze for later use.
Homemade sauces can transform any dish, from pasta to stews. Plus, purees can be frozen in smaller portions, allowing you to add a flavor burst to your recipes at any time.
To store your sauces and purees, consider using Ball wide mouth clear glass canning quart 32 oz mason jars with lids. These jars are perfect for preserving your creations and keeping them fresh for future meals.
Feel free to experiment with flavors; adding roasted red peppers or basil gives you countless options. You’ll be amazed by the richness of homemade versus store-bought! If you want to streamline the chopping process, a Cuisinart food processor can save you time and effort, making it easier to prep your ingredients.
17. Storing in Alcohol
Preserving fruits in alcohol is a delightful way to create infused spirits or liqueurs, perfect for sipping or gifting! This method is a fun way to capture the essence of your harvest while adding a unique twist to your drinks.
To start:
1. Choose your fresh fruit—think cherries or citrus—and place them in a clean jar. For this, Mason Jars with Lids are ideal, as they offer a secure seal and are perfect for food storage.
2. Cover the fruit with your choice of alcohol, like vodka or rum. If you want to infuse your spirits in style, consider using the Alkemista Alcohol Infuser. This sleek infuser is designed to enhance the flavor of your spirits, making it easier to create delicious concoctions.
3. Seal the jar and let it steep for a few weeks, shaking occasionally.
The result is a beautifully infused spirit that can be enjoyed on its own, used in cocktails, or poured over desserts! Alcohol-infused fruits can also be a delicious treat in their own right, offering a fun addition to your preserving repertoire. For those who want to experiment further, an Infusion Kit can let you DIY your flavored spirits using natural ingredients.
This method is a wonderful way to celebrate your garden harvest while experimenting with flavors. Just remember to label your jars for easy identification later!
18. Vinegar-Based Preserves
Vinegar-based preserves offer a tangy kick while preserving your favorite vegetables and fruits! This method is particularly effective for maintaining the crispness and tartness of your produce.
To create vinegar-based preserves, you’ll need a few essentials. Start by preparing your chosen fruit or vegetable, slicing them into uniform pieces. For the pickling solution, combine vinegar, sugar, and spices. A great option for spices is the Badia Extra Fancy Pickling Spice, a fragrant mixture that elevates the flavor of your preserves.
Once your solution is ready, pack the produce into jars. The Ball Wide Mouth Clear Glass Canning Quart Mason Jars are perfect for this, as they ensure your vegetables and fruits are fully submerged when you pour the hot vinegar solution over them. After sealing the jars, process them in a water bath. The Ball EasyCanner Electric Water Bath Canner makes this step easy and efficient, ensuring that your preserves are safely processed.
These vinegar-based preserves are fantastic for adding zing to any dish, be it salads, sandwiches, or even charcuterie boards. They also make thoughtful gifts when beautifully packaged. Experimenting with different spices and flavors can yield unique results, making each batch a delightful surprise!
19. Blanching and Freezing
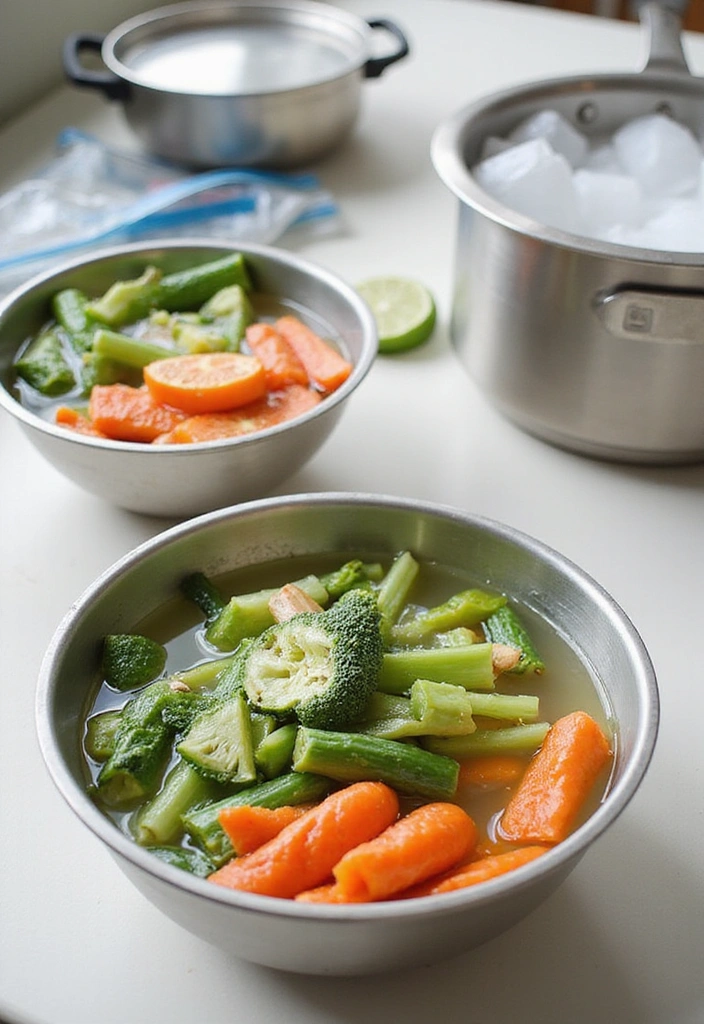
Blanching and then freezing is an excellent way to preserve the quality of your vegetables while extending their shelf life. This method locks in nutrients and flavors, making it a favorite among home preservers.
To blanch and freeze:
1. Fill a pot with water and bring it to a boil. A great option for this step is the Martha Stewart Thayer 8-quart enamel on steel scratch resistant stock pot, which is perfect for boiling water and has a lid to help with heating efficiency.
2. Prepare a bowl of ice water using an ice water bowl. This insulated bowl keeps your ice water cold, making sure your blanched vegetables cool down quickly and effectively.
3. Blanch your vegetables for 1-5 minutes, depending on the type, then quickly transfer them to the ice water to stop the cooking process.
4. Once cooled, drain and package them into freezer-safe bags. The Amazon Basics freezer quart bags are perfect for this, allowing you to store your veggies while keeping them fresh and secure.
This method is especially effective for greens, beans, and corn, keeping their vibrant colors and crisp textures intact. It’s like capturing a bit of summer to enjoy when the snow falls!
Label your bags with dates and contents for easy access during meal prep. You’ll love having fresh veggies at your fingertips all winter long!
20. Traditional Curing
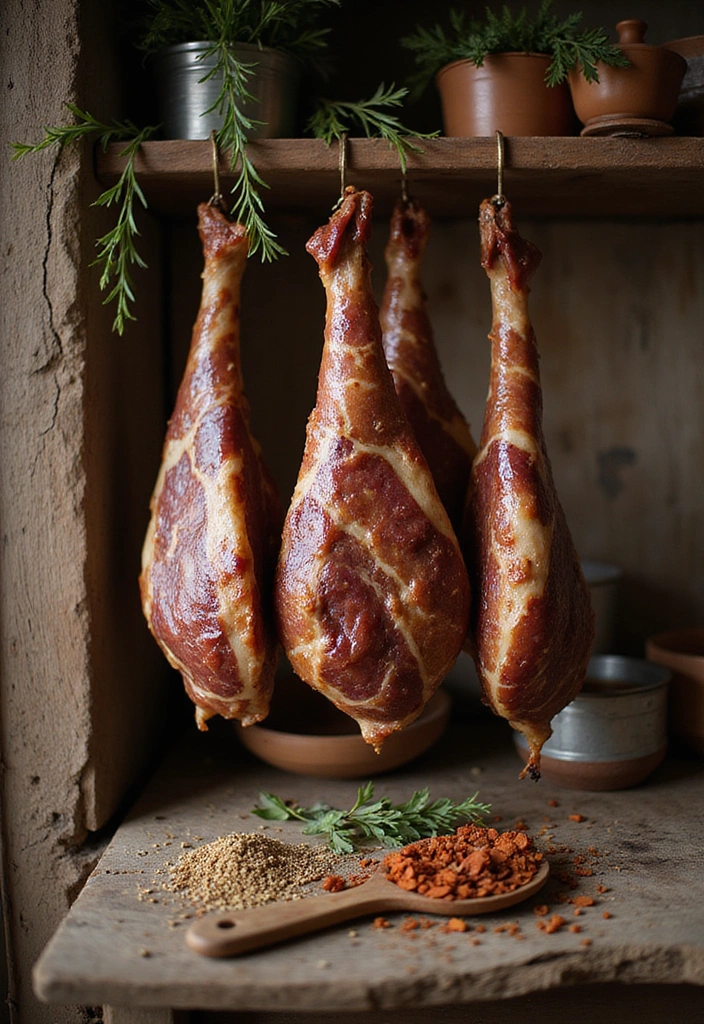
Curing is a traditional method of preservation that involves using salt or sugar to draw moisture out of meats or fish. This method not only extends shelf life but also imparts unique flavors that are absolutely mouthwatering!
To cure meats:
1. Choose your meat and create a curing mix of salt, sugar, and spices. A great starting point is using curing salt No.1. Quick Cure Premium Prague Powder. This blend helps ensure the curing process is effective and safe.
2. Coat the meat thoroughly and let it cure in the refrigerator for several days.
3. Rinse and dry before using or storing.
Cured meats can be enjoyed in a variety of dishes or as part of a charcuterie board. This method opens up the possibility of creating rich flavors that are perfect for any occasion. If you’re looking to enhance your curing experience, consider investing in an Herb Guard Auto-Cure Smart Jar. This vacuum seal curing jar keeps your herbs and spices fresh for months, making it easier to experiment with different recipes.
Experimenting with different spices and curing techniques can lead to exciting flavors. For instance, using the Spice Way allspice can add a unique depth to your curing blend. Just remember to follow safety guidelines while curing for the best results!
21. Upside-Down Canning
Upside-down canning is a creative way to preserve your harvest while ensuring a great seal without the need for a water bath! This method works particularly well for jams and jellies.
To utilize this technique:
1. Prepare your jam or jelly as usual, then pour it into sterilized jars. For this, you can use Ball wide mouth clear glass canning quart 32 oz mason jars with lids to ensure you’re using quality containers that can handle the heat and create a proper seal.
2. Immediately invert the jars and let them sit for about 5-10 minutes. Using a Norpro canning jar lifter can help you safely handle the jars while they’re hot and minimize the risk of burns or spills.
3. Return them upright to cool and seal.
This method can save time and effort while still providing the satisfaction of homemade preserves. Just make sure to keep an eye on the seals to ensure they properly formed. A canning funnel is also a handy tool for filling your jars without mess, making the process smoother and more efficient.
Upside-down canning is a fun twist on traditional preservation, perfect for busy home cooks. The world of preserving is all about experimenting, and this technique will spice things up!
Conclusion
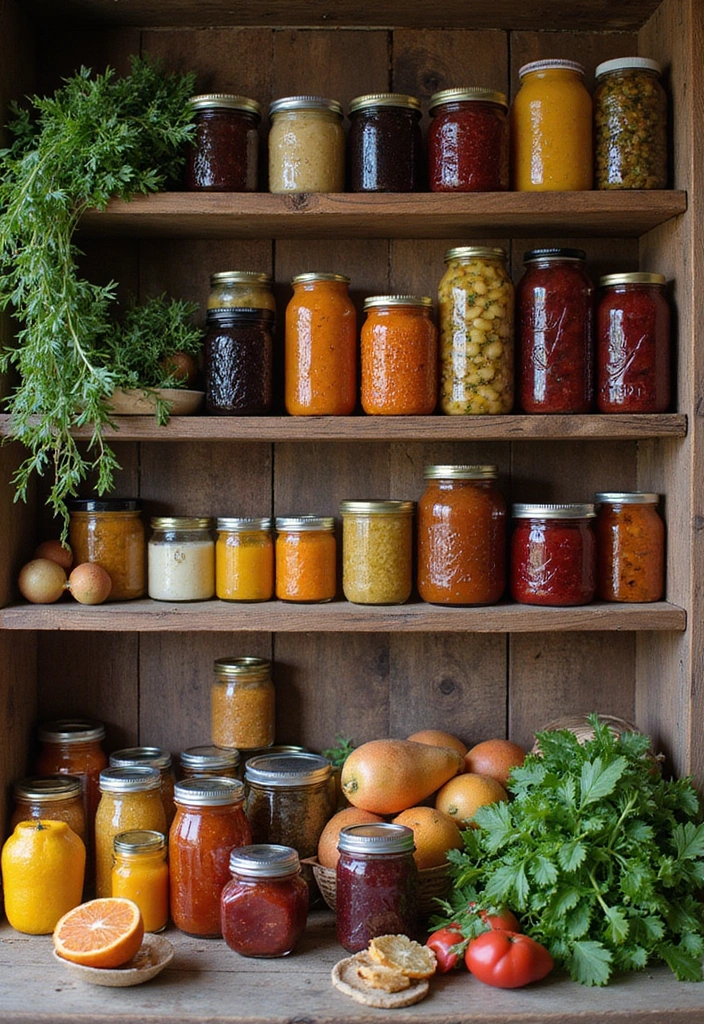
The journey of preserving your garden harvest can be incredibly rewarding and delightful. These 21 techniques offer a variety of ways to capture the freshness of your produce, ensuring that you can savor those flavors long after the harvest.
From canning to freezing, each method brings unique tastes, textures, and experiences to your kitchen. Think of all the scrumptious meals and memories you can create with your homemade goodies.
Get started today, and let your pantry be filled with the fruits of your labor!
Note: We aim to provide accurate product links, but some may occasionally expire or become unavailable. If this happens, please search directly on Amazon for the product or a suitable alternative.
This post contains Amazon affiliate links, meaning I may earn a small commission if you purchase through my links, at no extra cost to you.